Dynamic Stages Guide
By salada#570699
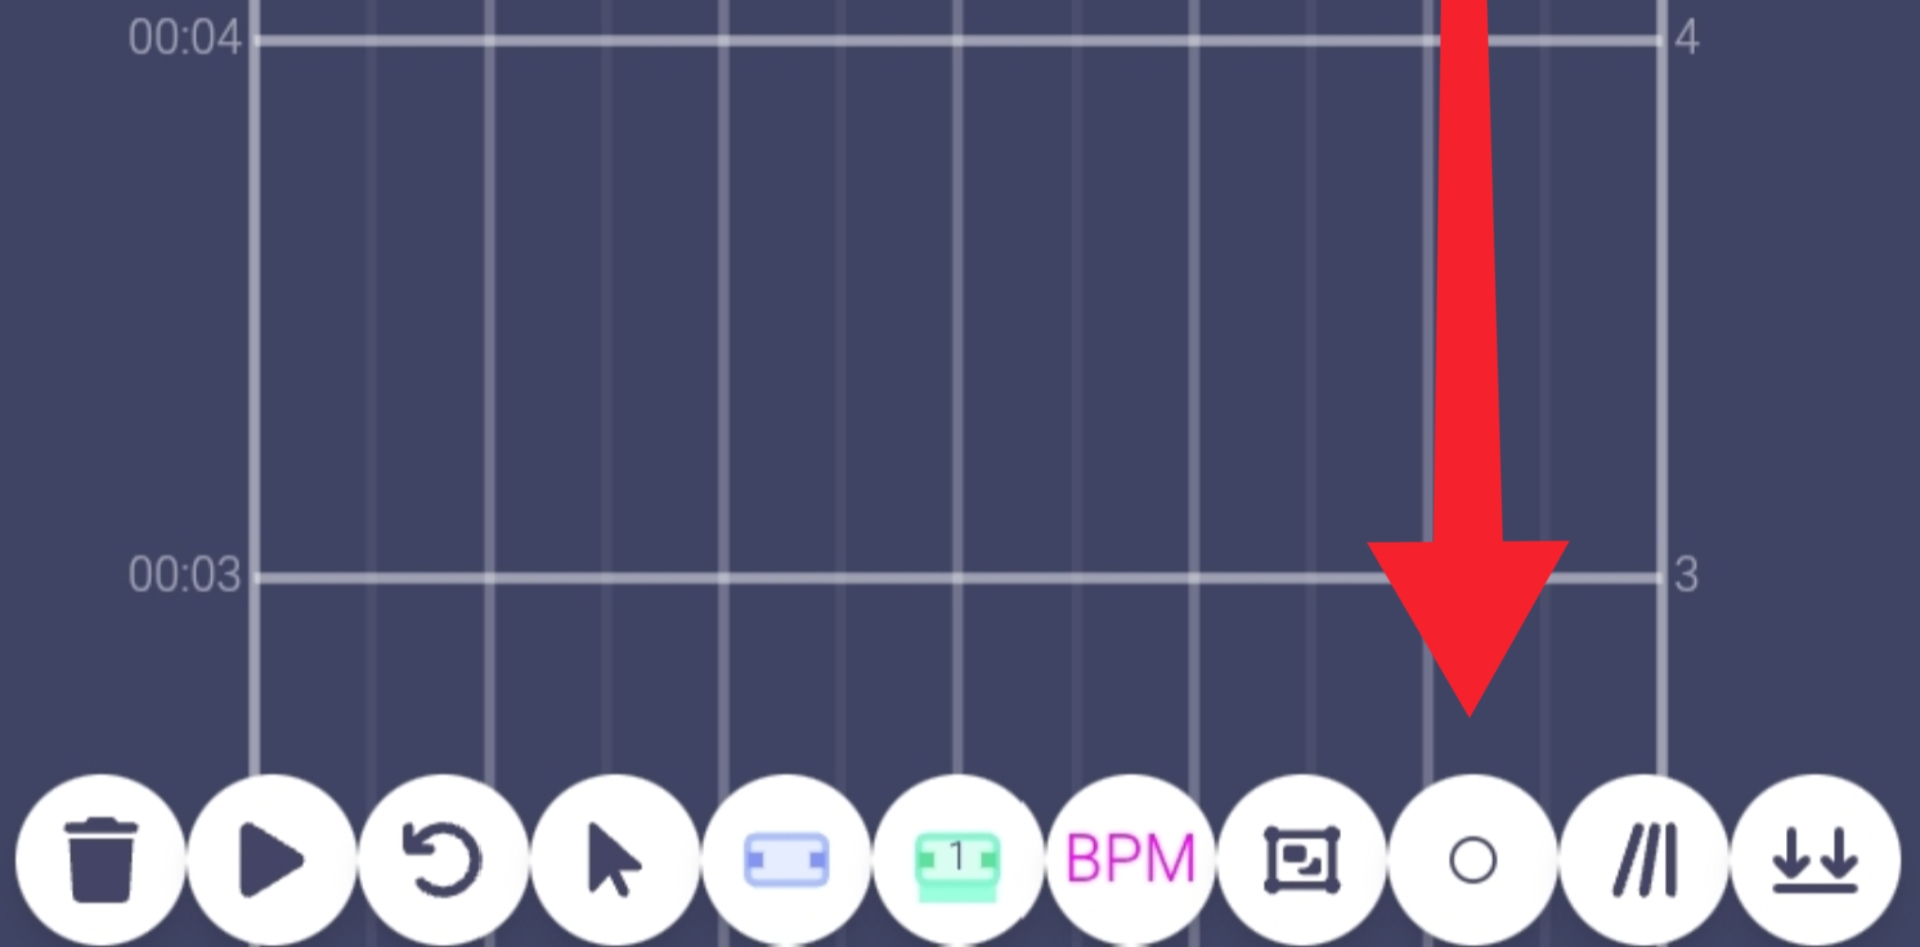
The first thing you need to do when you open the editor via this link: https://next-sekai-editor.sonolus.com/ is turn on Dynamic Stages.
You can do this by pressing this button:
After that, just confirm the popup.
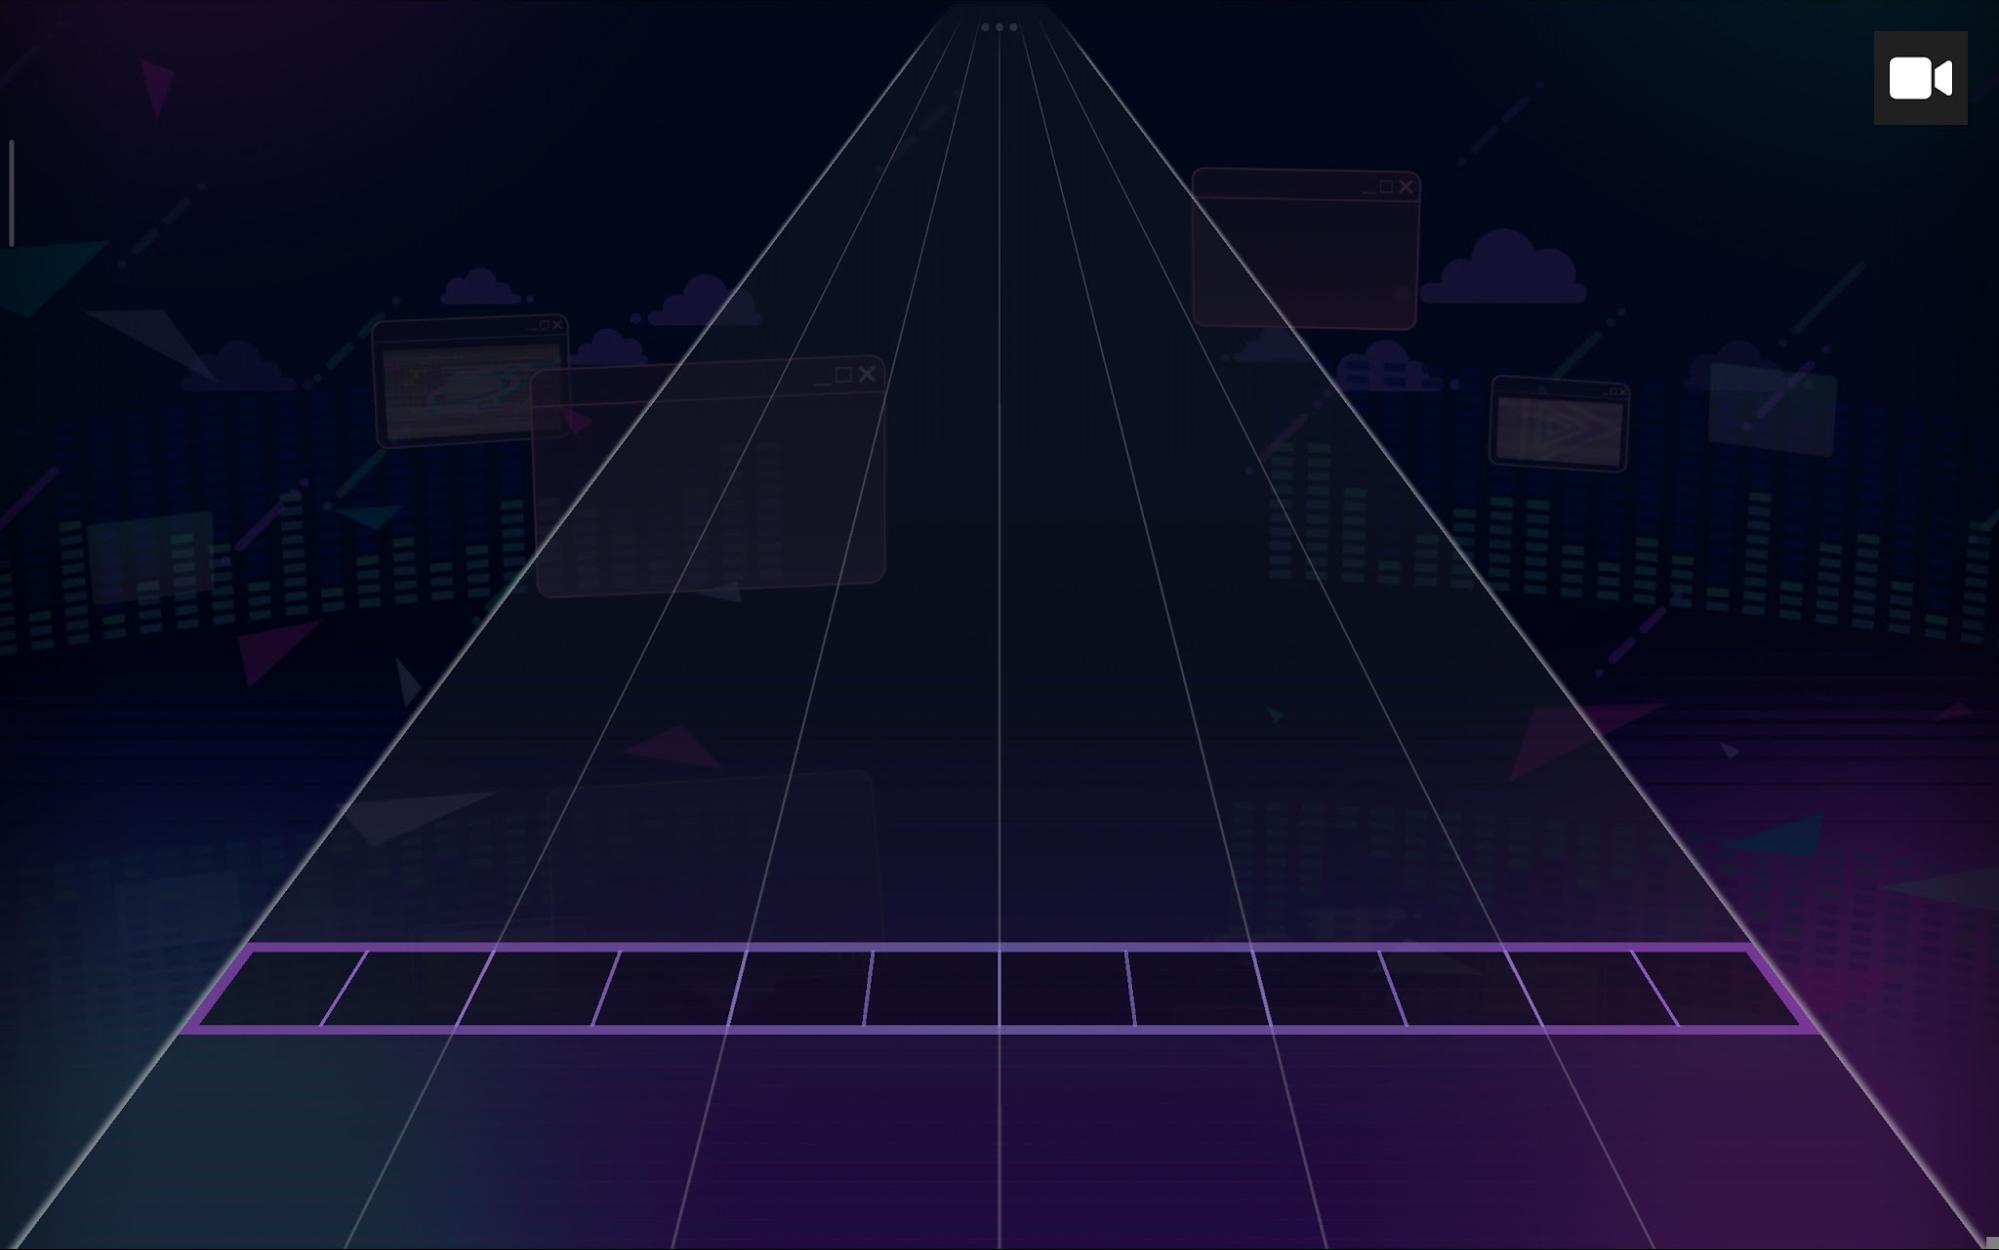
This is where you use all the events that we'll see next, They function like groups (layers),Events and objects can be affected by stages, with the exception of time scales (hi-speeds); objects in different stages can be affected by the same group.
The only event that cannot be affected by stages is the Camera Event.
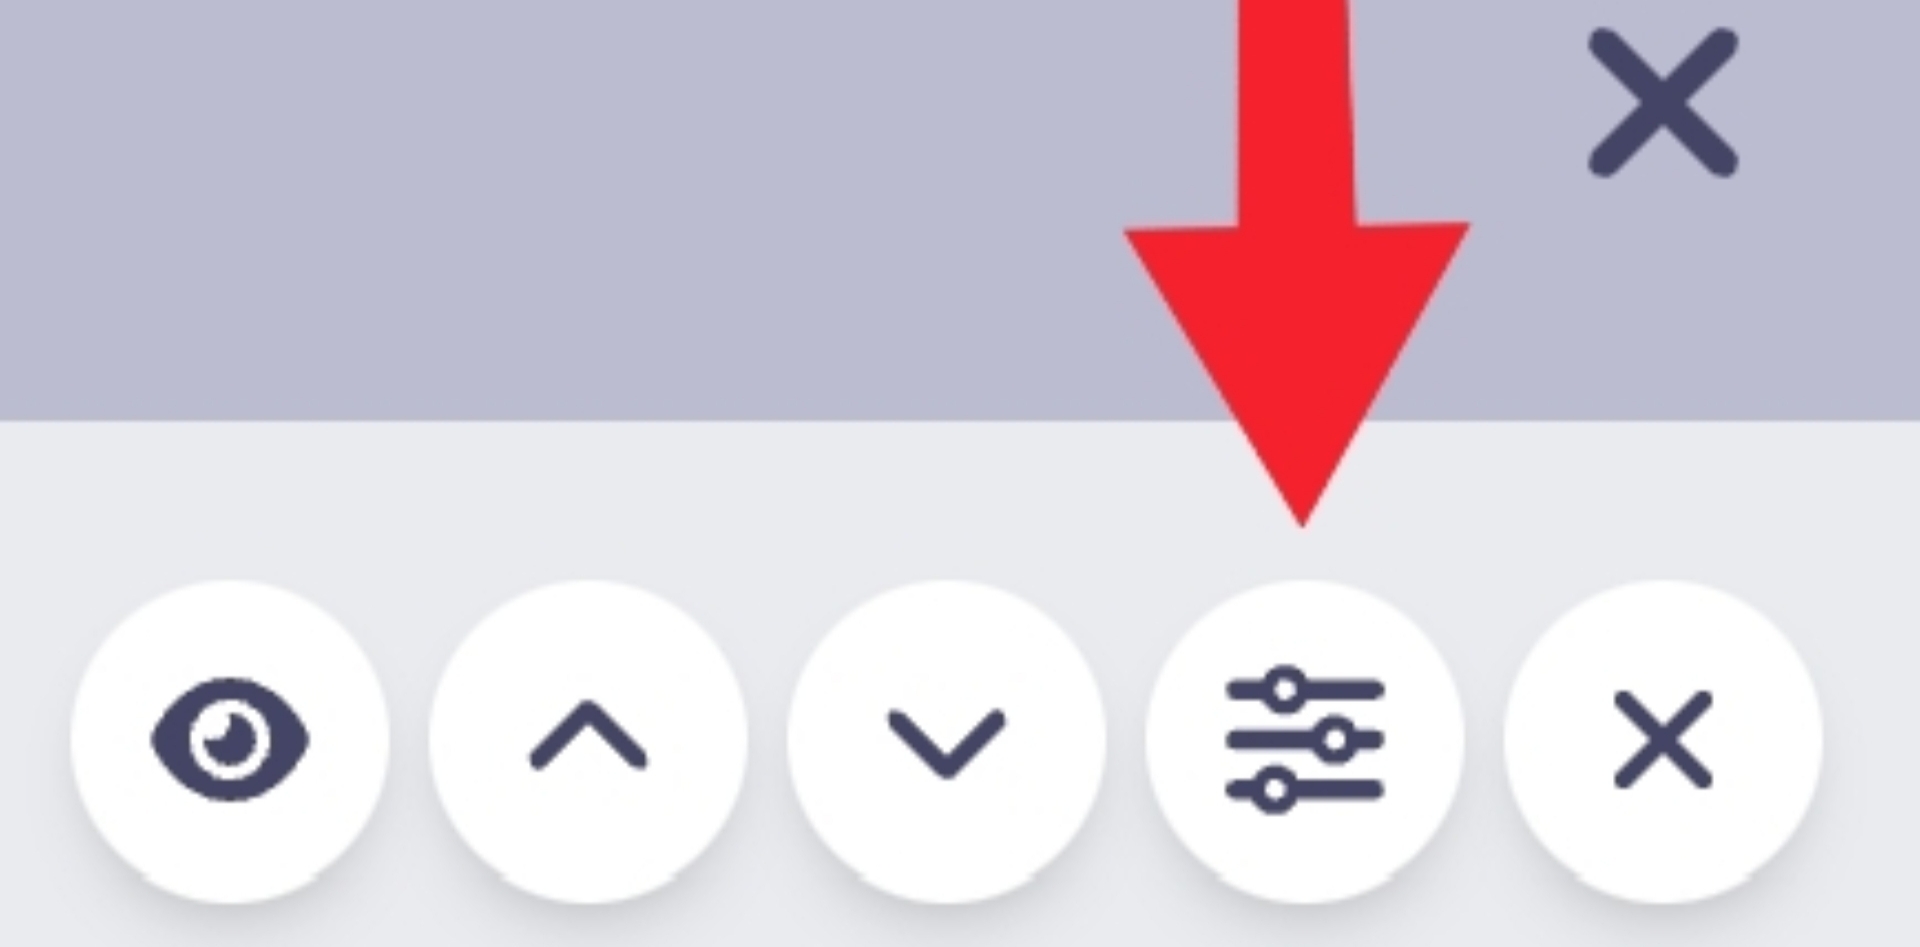
In the stage properties tab….
You can turn on the options.
“From start” what makes the stage visible from the beginning of the chart, and “Until End” is what makes the stage visible until the end of the chart.
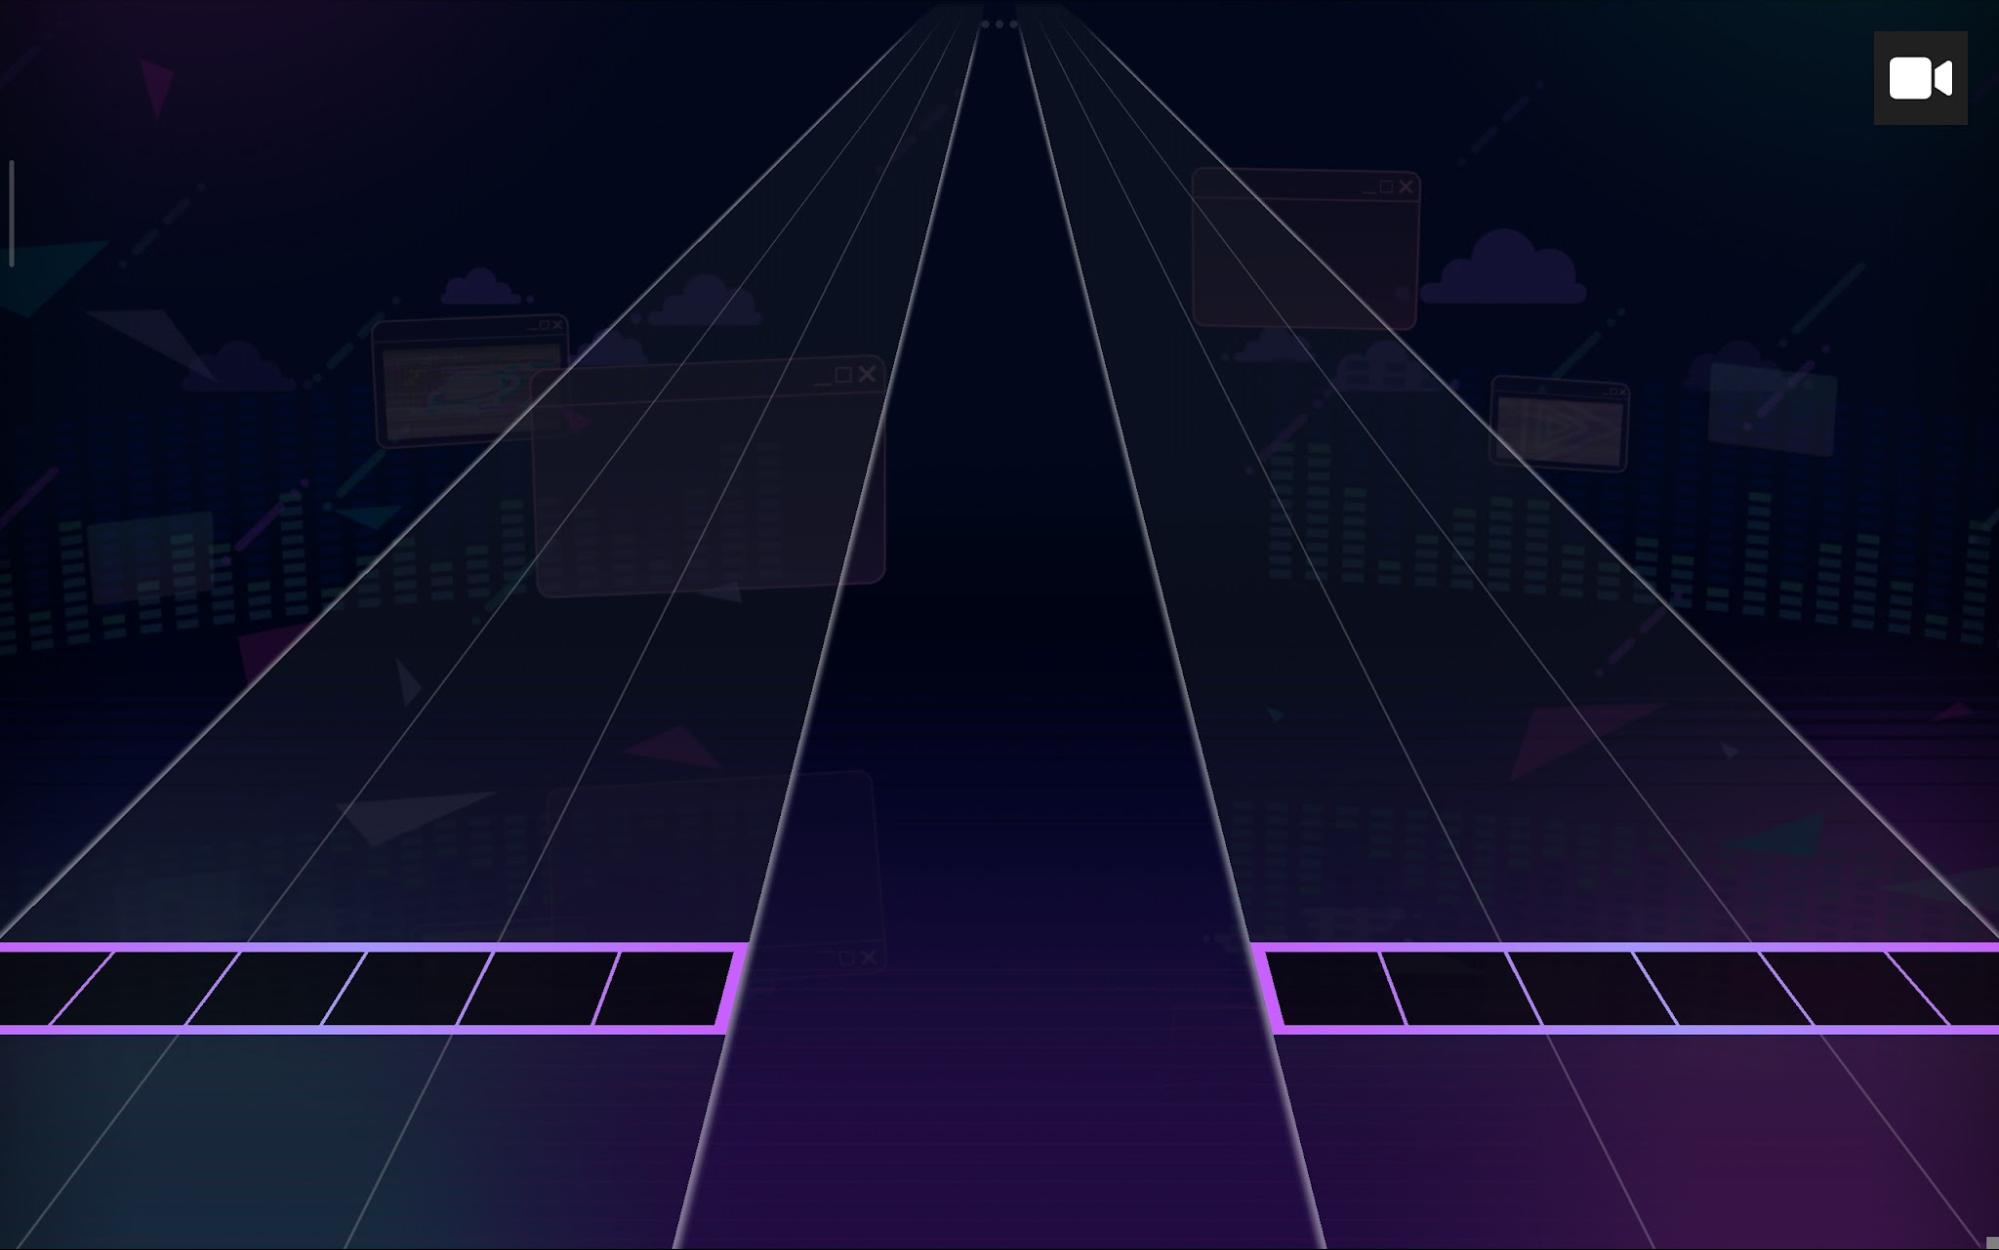
So if you want to do something that involves multiple stages like this…
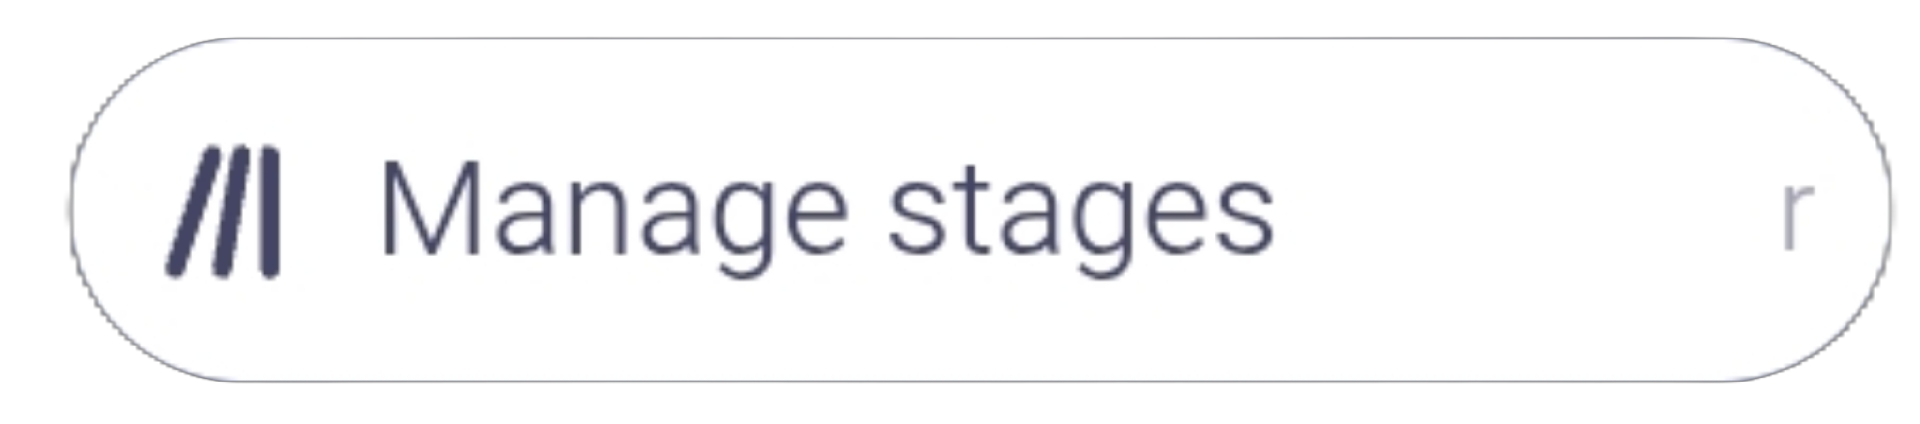
You will need to create more stages in the "Manage Stages" option
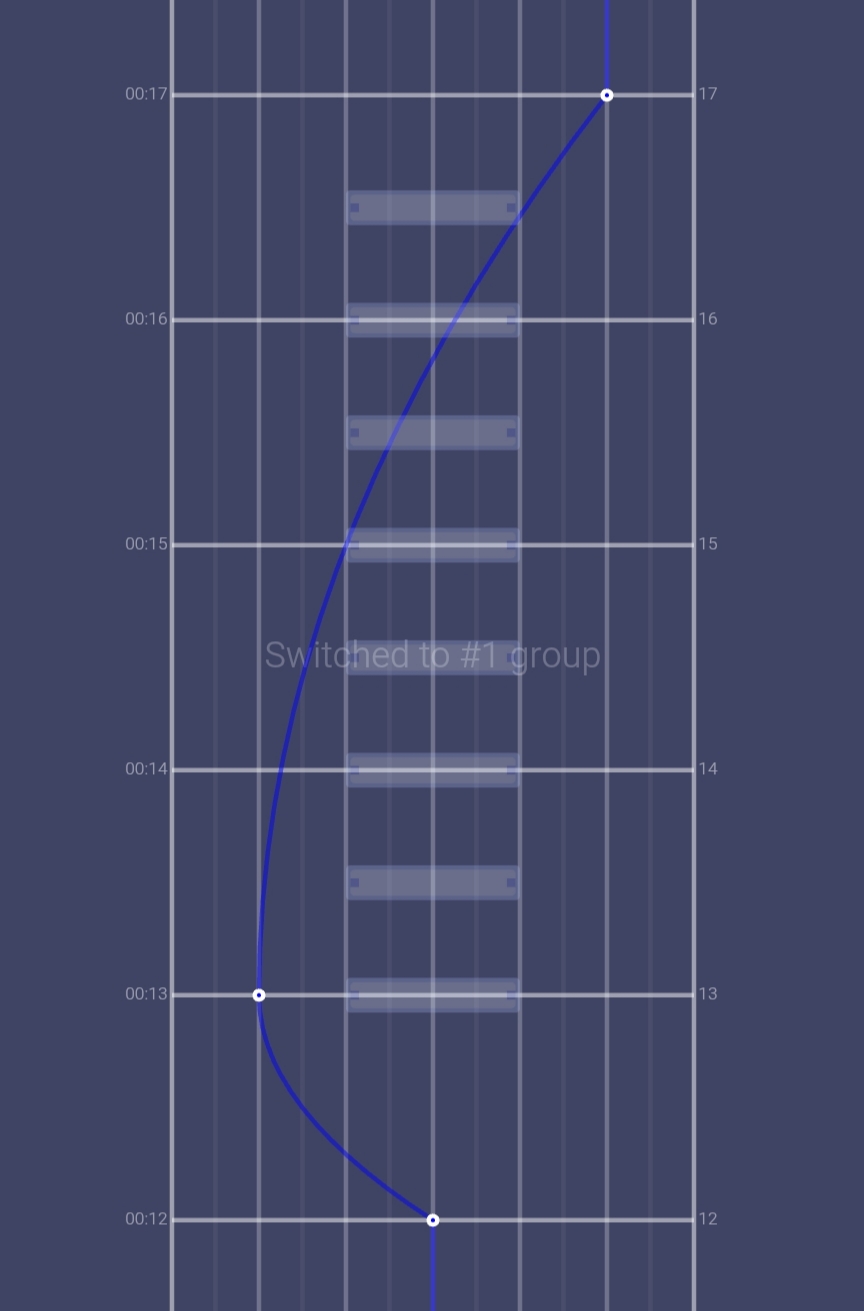
The camera tool is what you use to control the camera, with the added options Camera Shift,Camera Zoom,Camera Zoom Target Lane,Camera Zoom Target Y and Rotation.You can also add easing to the Camera event for smoother transitions,,just like sliders
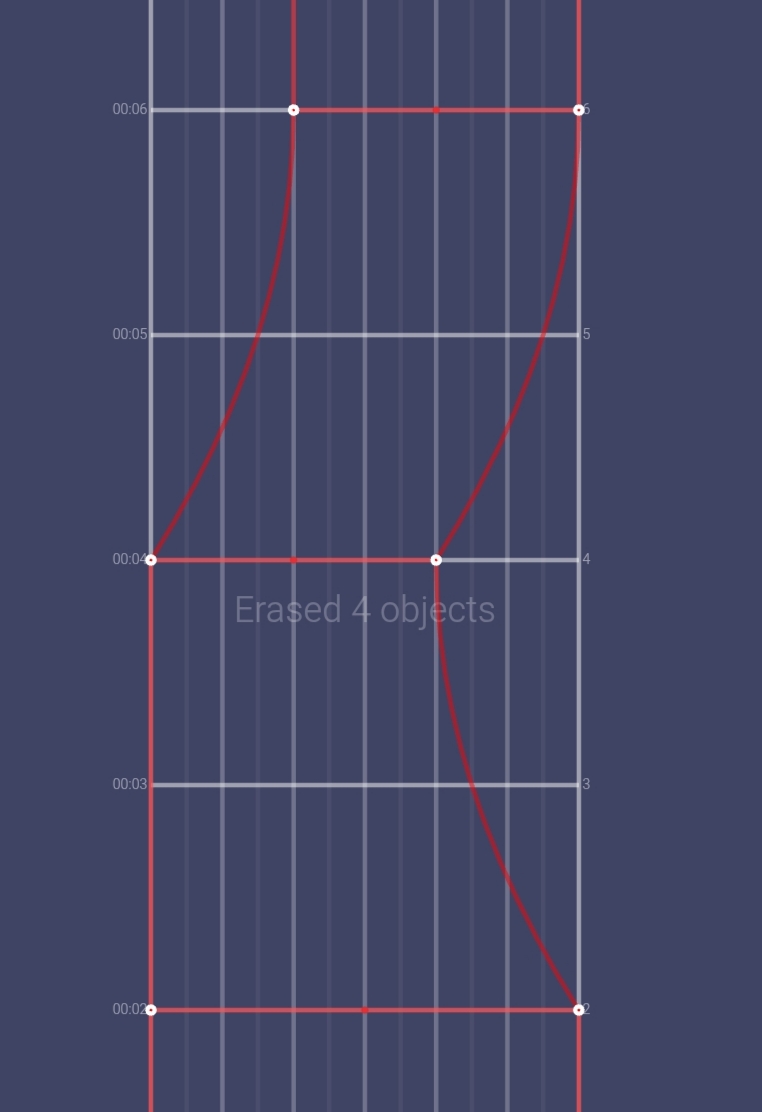
Camera Shift: You can shift the camera by moving and resizing the object (Its base size value is 12):
Camera Zoom: Its base value is 1; you can zoom in using a value greater than 1 and zoom out using a value less than 1 (the camera zoom cannot have a value less than 0.01).
Zoom in,1 to 1.5 (ease out): Zoom out,1 to 0.5 (ease out):
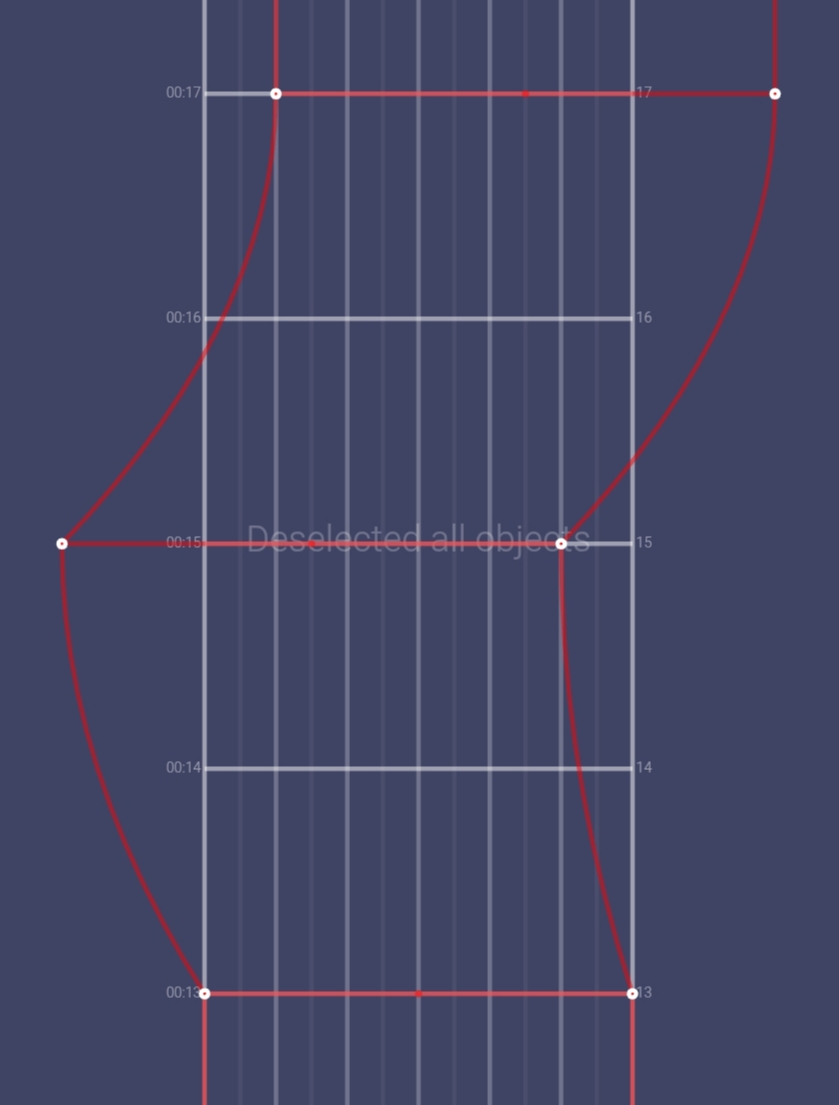
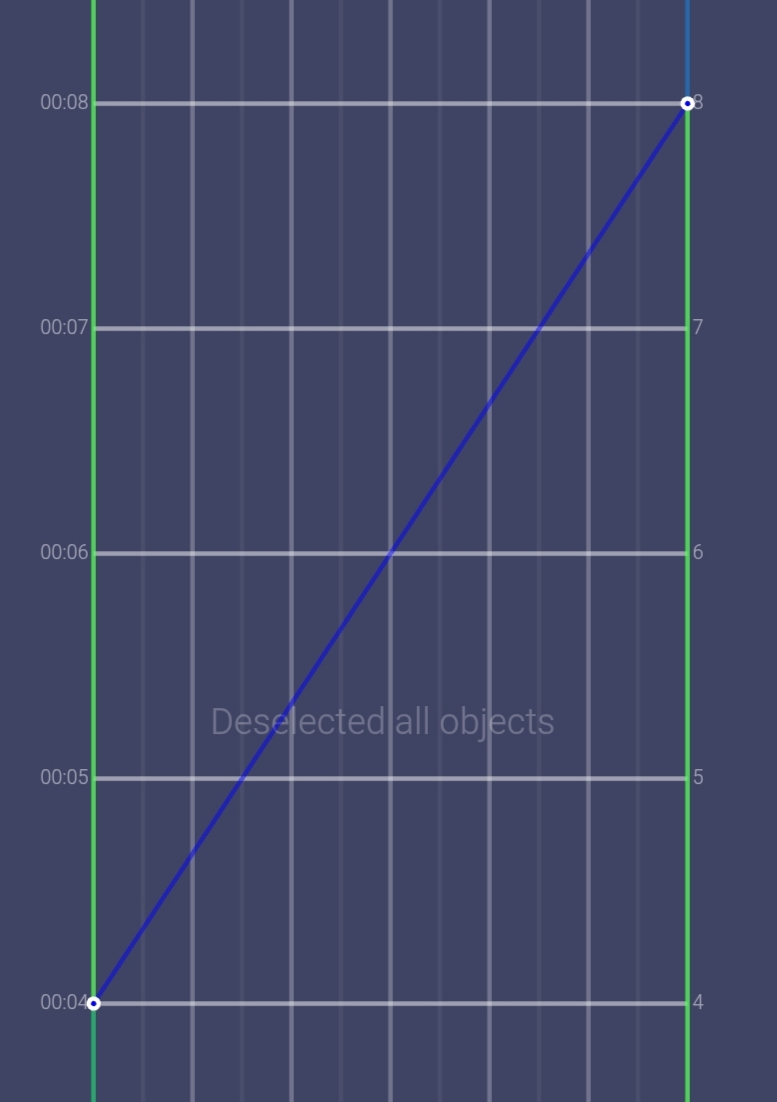
Camera zoom target lane: The camera will move to the lane you define; the default value is 0, which is the center of the screen.
Target lane,0 to 4 (linear ease):
Camera Zoom target Y: Makes the camera move up and down,The base value is 0; values greater than 0 make the camera move upwards, and values less than 0 make the camera move downwards (The value must be between -1 and 1).
Zoom target Y,0 to 0.5 (linear ease): Zoom target Y,0 to -0.5 (linear ease):
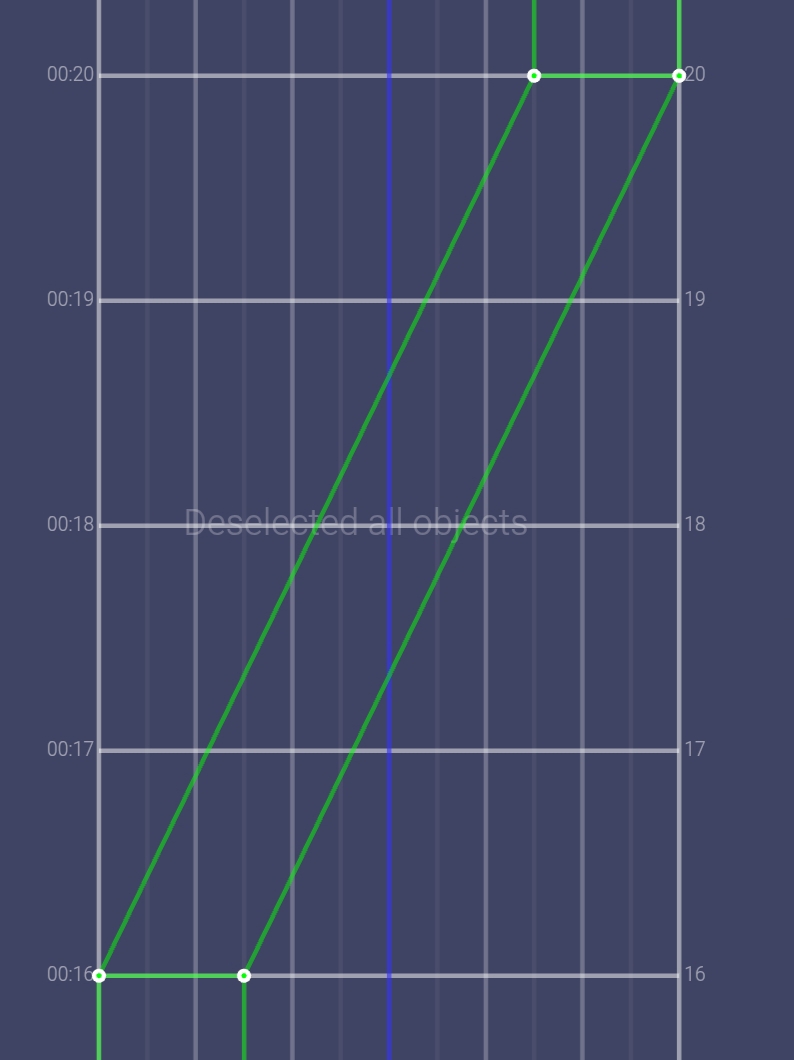
Rotation: makes the camera rotate, measured in degrees.
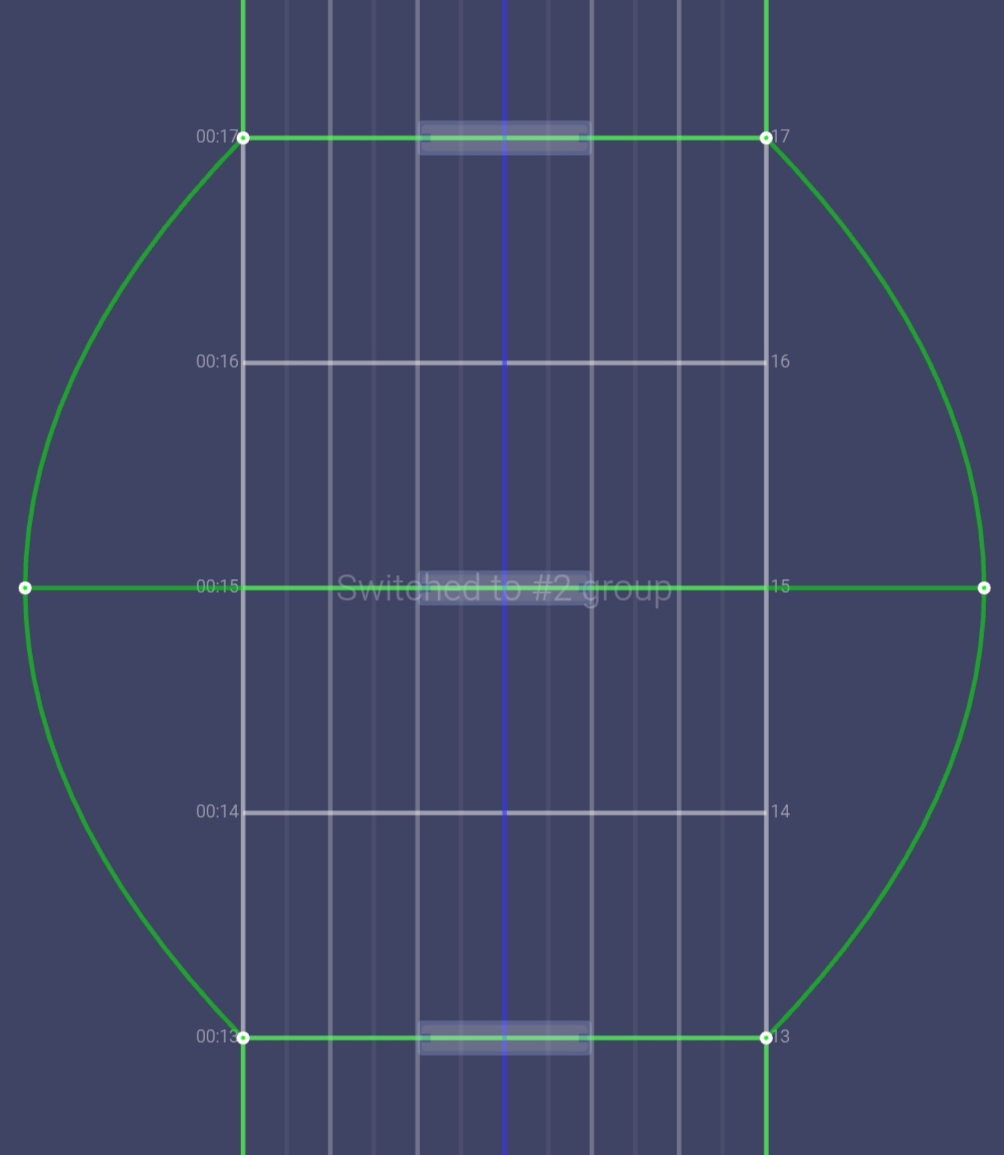
Rotation from 0 to 90 (ease out): Rotation from 0 to 360 (ease out):
You can use negative values to make the camera rotate to the opposite direction
Camera Stage tilt: You can make the stage flatter; the default value is 1, the closer to 0, the flatter the stage becomes.
Camera stage tilt from 1 to 0 (linear ease):
Camera Zoom Vertical Align: You can switch from default to center if you need to center a judgment line on the screen. If you only switch from default to center without changing the Zoom target Y option,For this to work, the Y Offset value on the Pivot Event of the stage you want to center, needs to be the same as the Camera Y Offset.
The mask controls which part of the stage is visible.You can also add easing to have smoother transitions.
may seem like It doesn't do much, but It interacts a lot with the next two events.
Style events are what you use to customize the stages.In your priorities tab you will find:
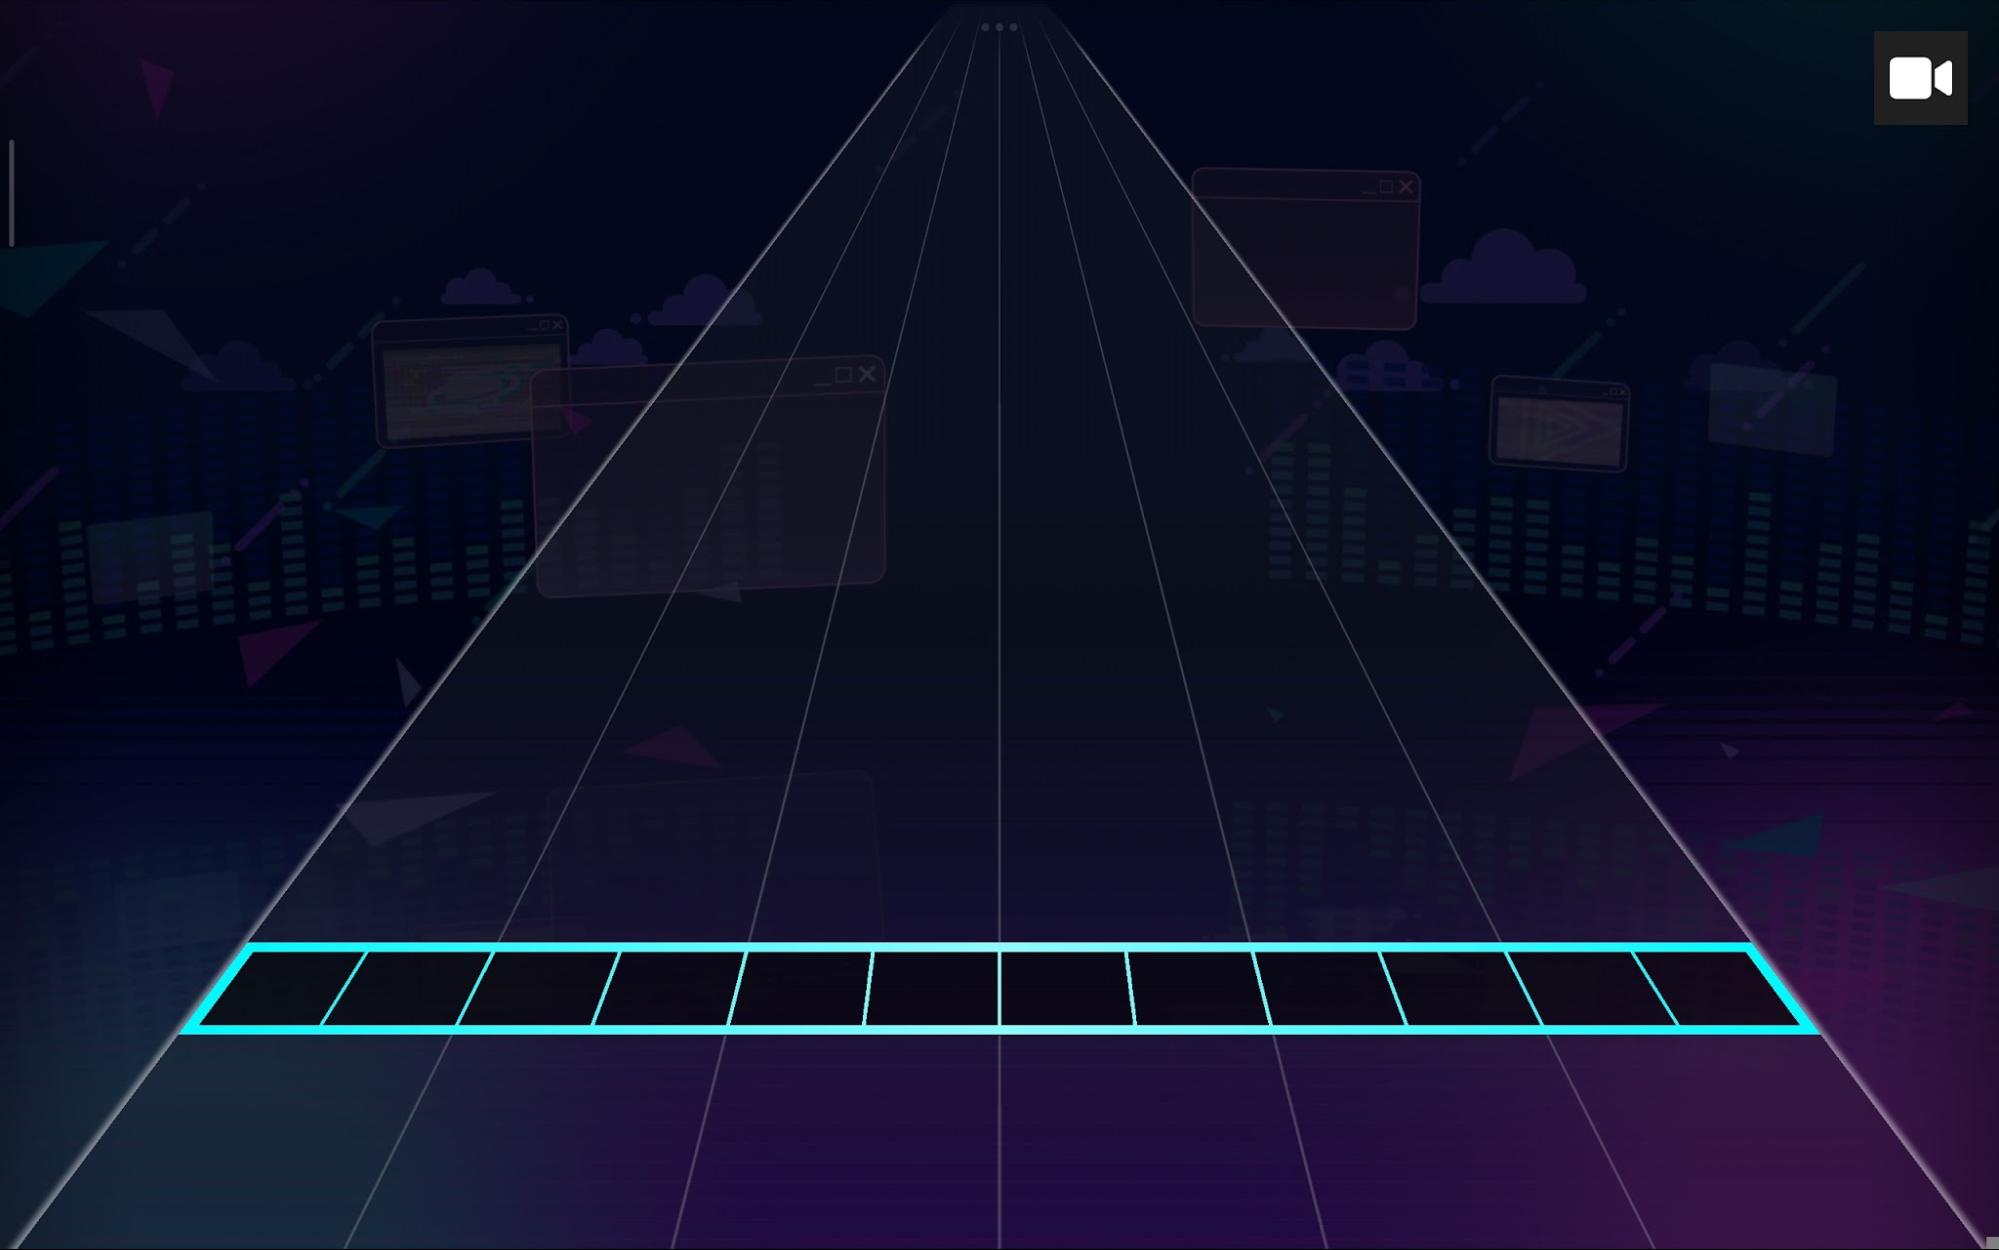
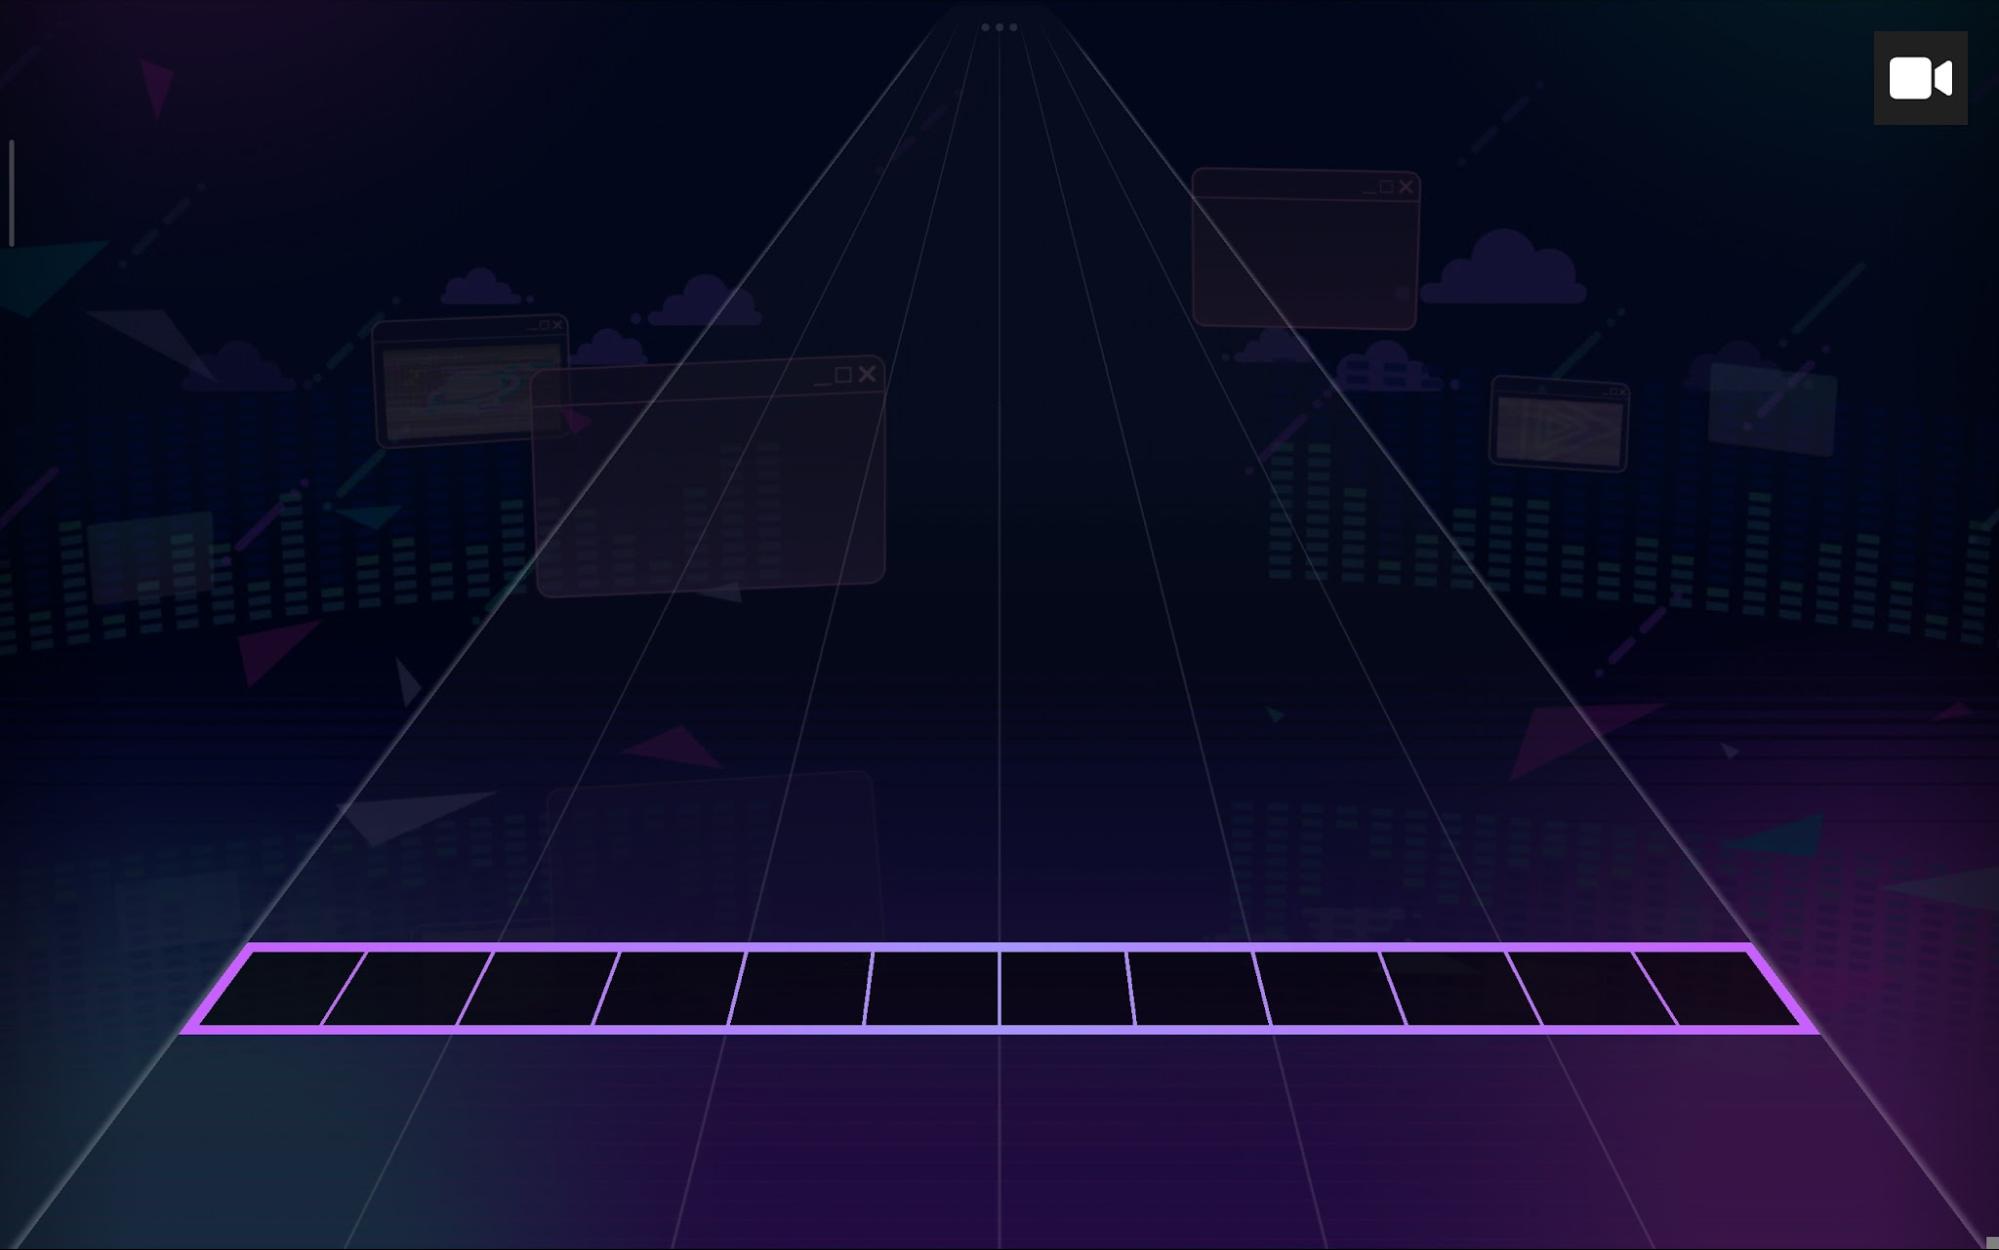
Judgment Line Color: You can change the color of the judgment line between the 8 color options
Border Style (Left and Right): With the border style you can change the stage border between:
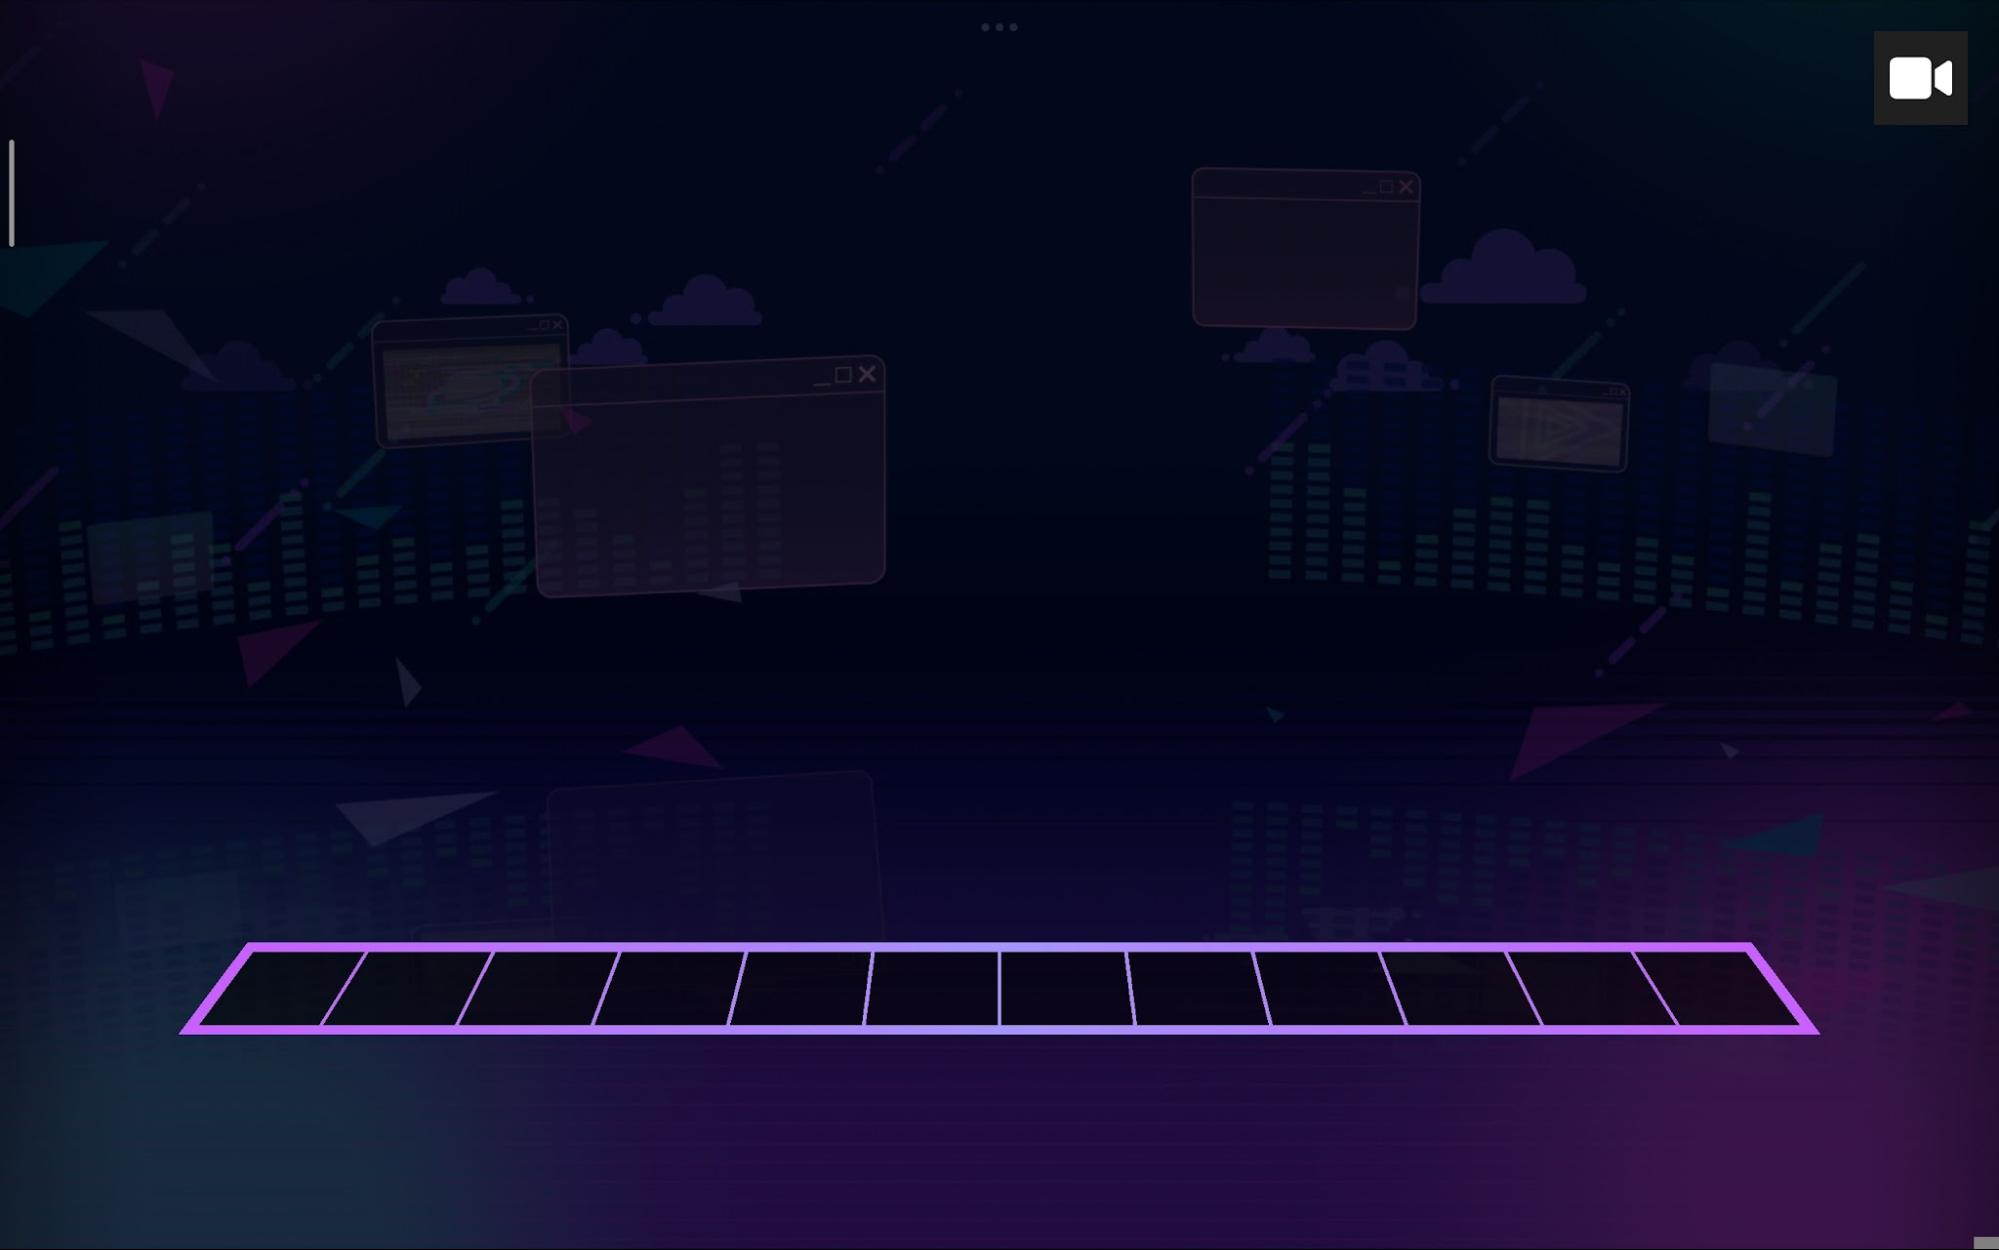
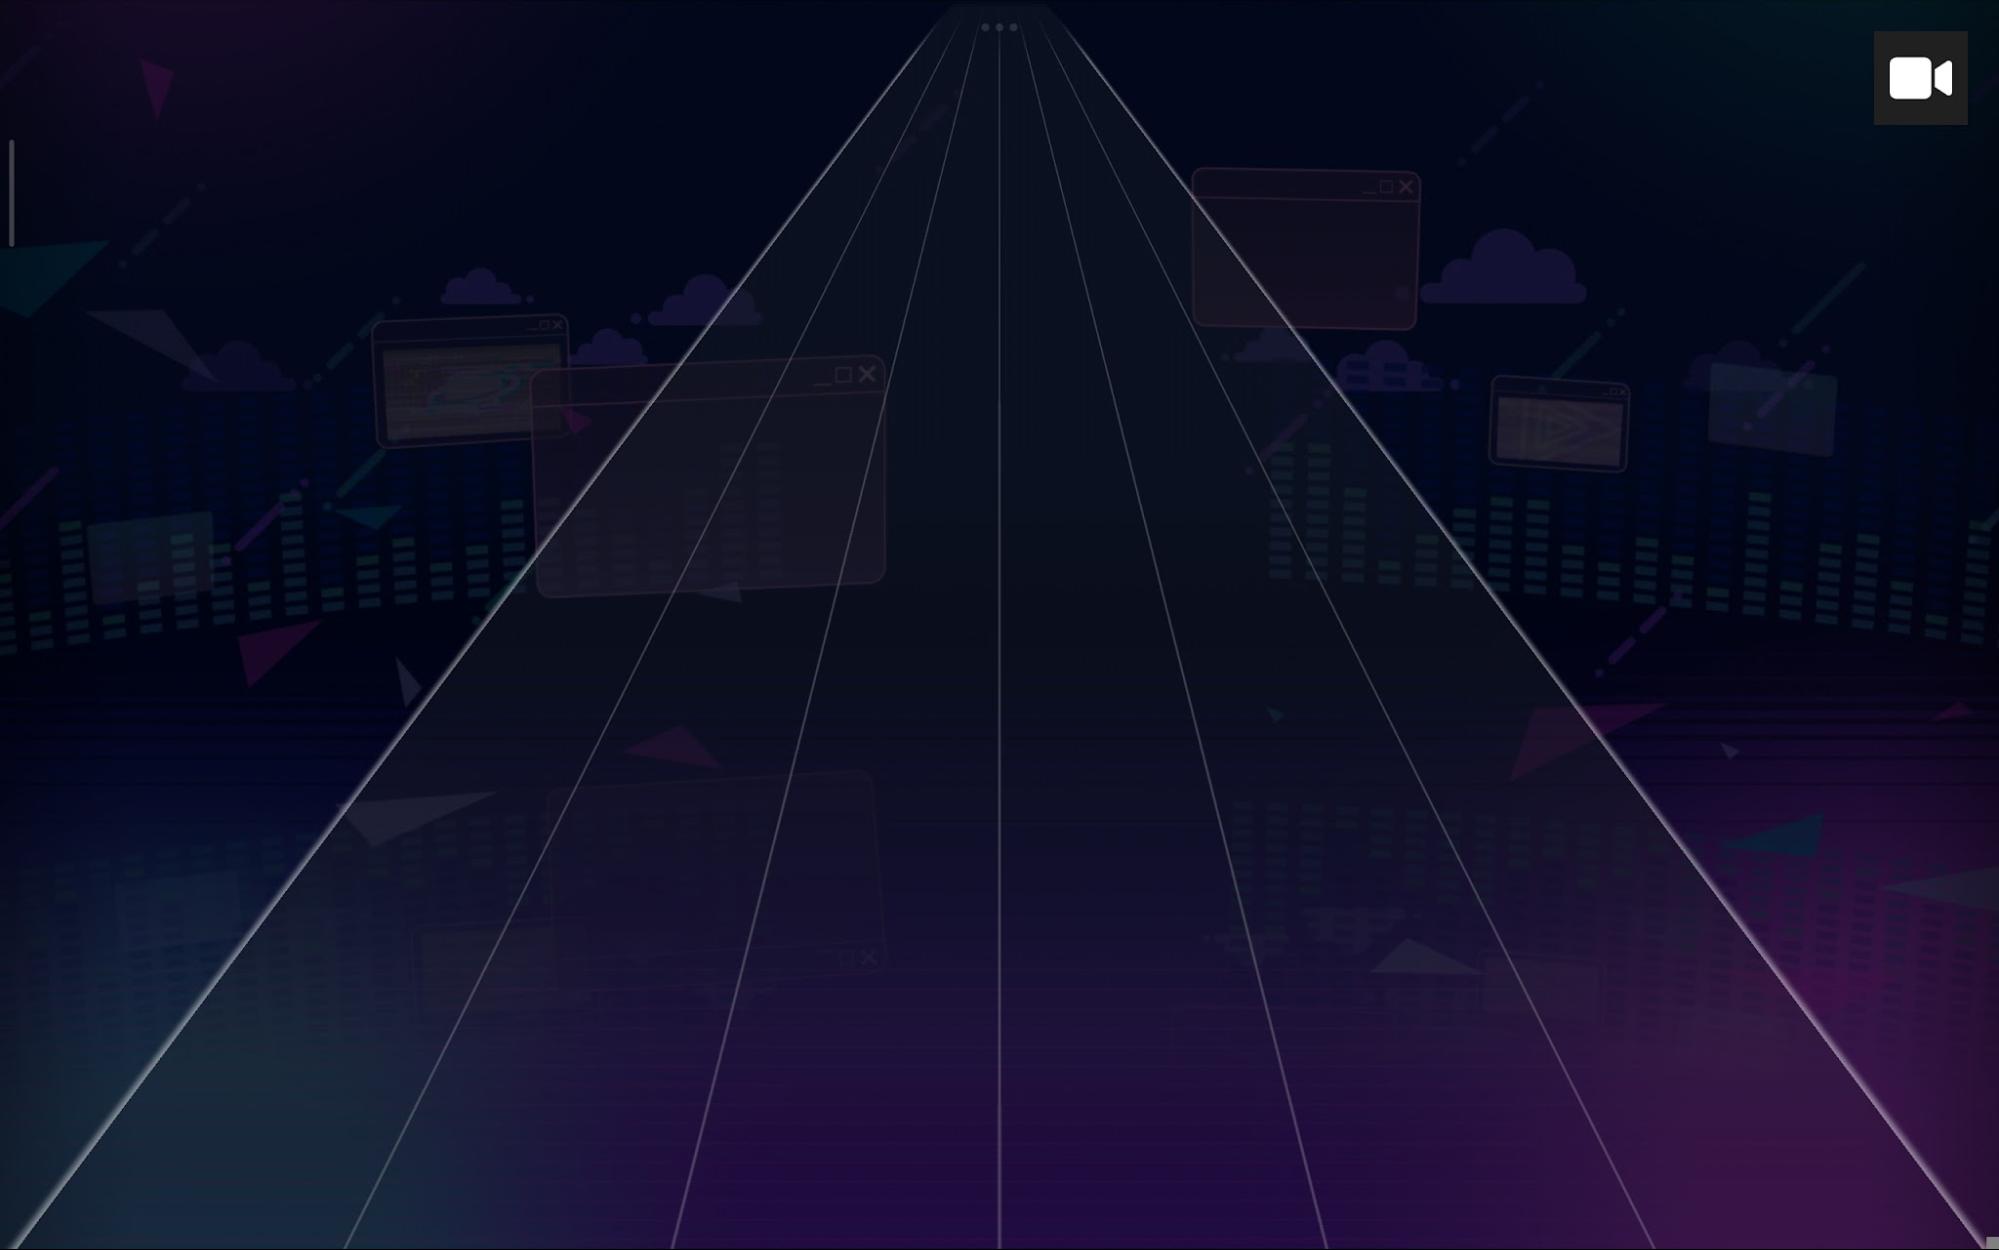
Alphas: You can control the Alpha of the lane, Judgment Line, and Stage (The Stage Alpha controls the other two, then technically you only have two options), Alpha ranges from 0 to 1, with 0 being completely invisible and 1 being the default (It works like guides).
Lane alpha 0: Lane Alpha 0.5:
Judgment Line Alpha 0: Judgment Line Alpha 0.5:
It's worth remembering that you can change the ease of Style Events (this applies to everything).
Stage Alpha 1 with linear ease to 0: Easing colors:
Pivots move the entire stage horizontally, controls the height of the judgment line and the division line of masks
Horizontal Movement
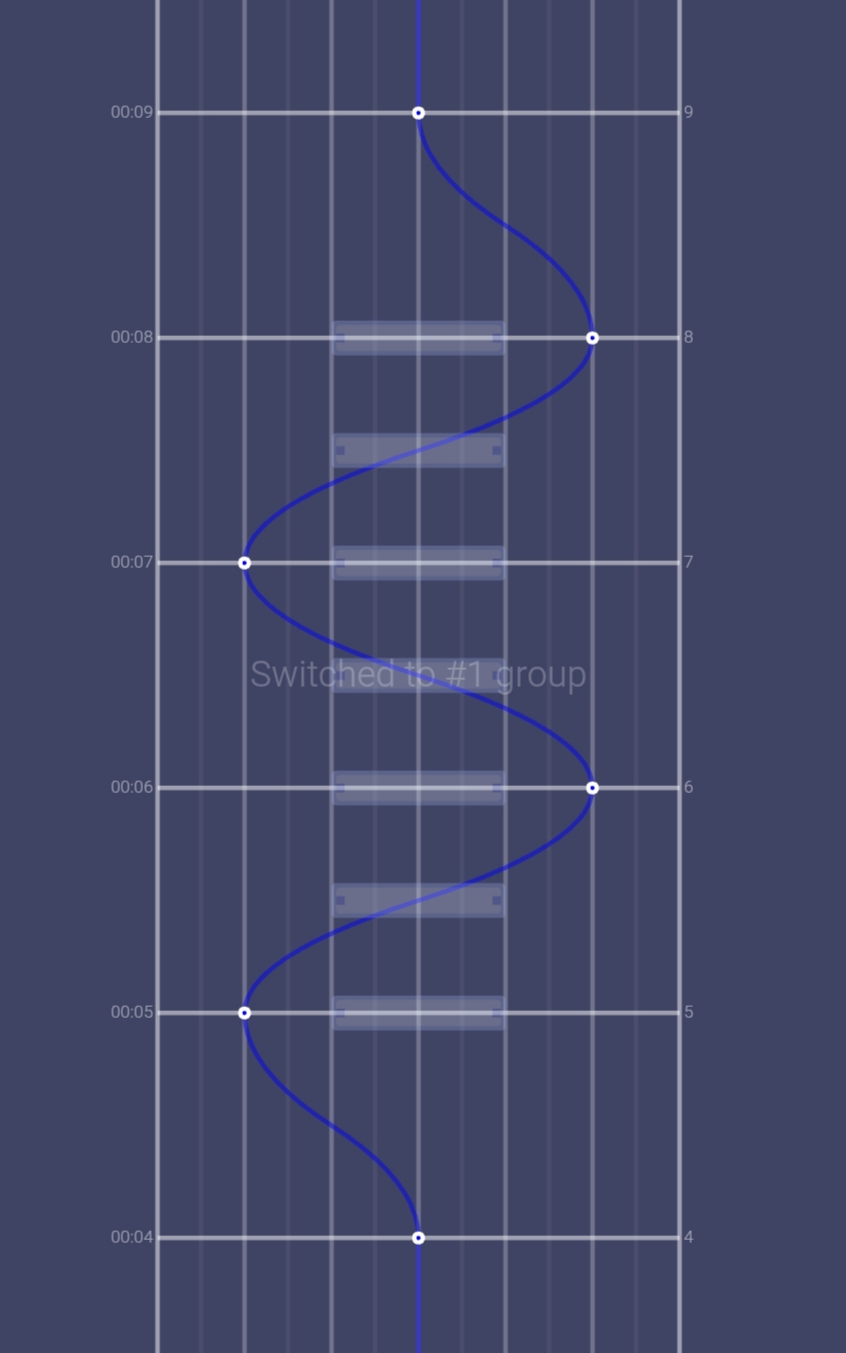
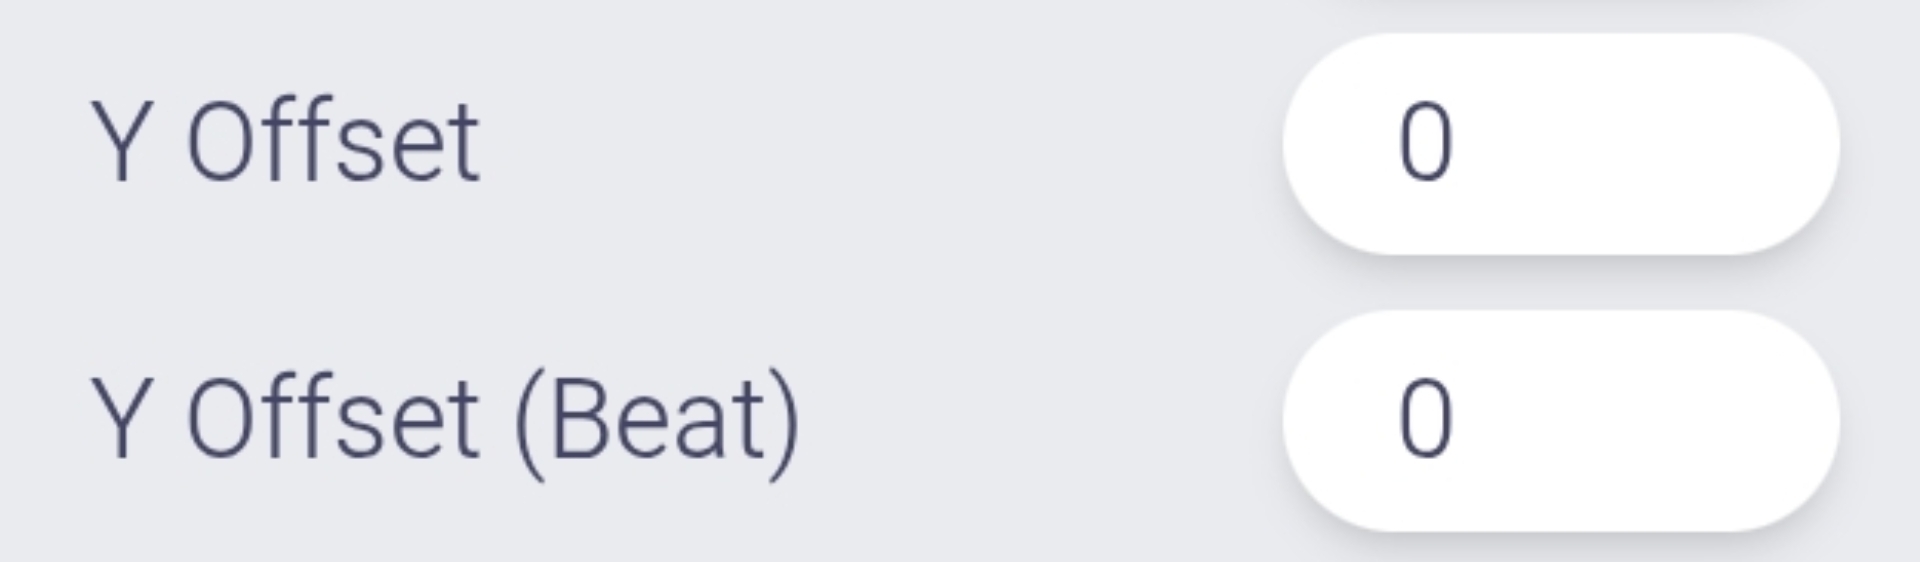
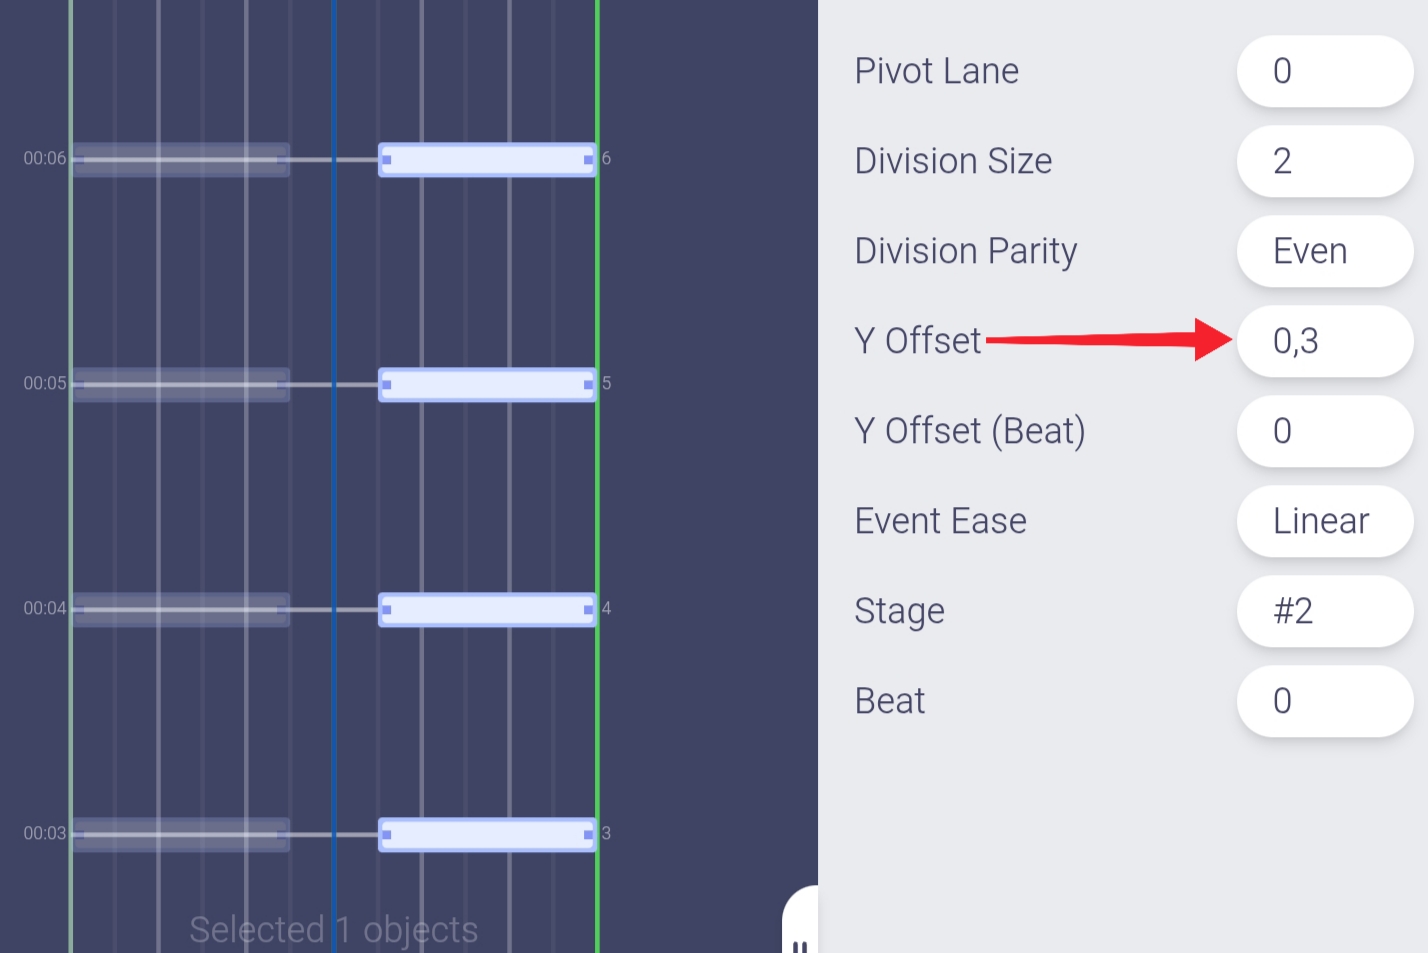
In the pivot properties tab, you can find the "Y offset" options; these are used to control the height of the judgment line. Both options do the same thing; the difference is how the height is calculated.
For consistency reasons, it is recommended to use the Y offset, as it is easier to predict how others will play.
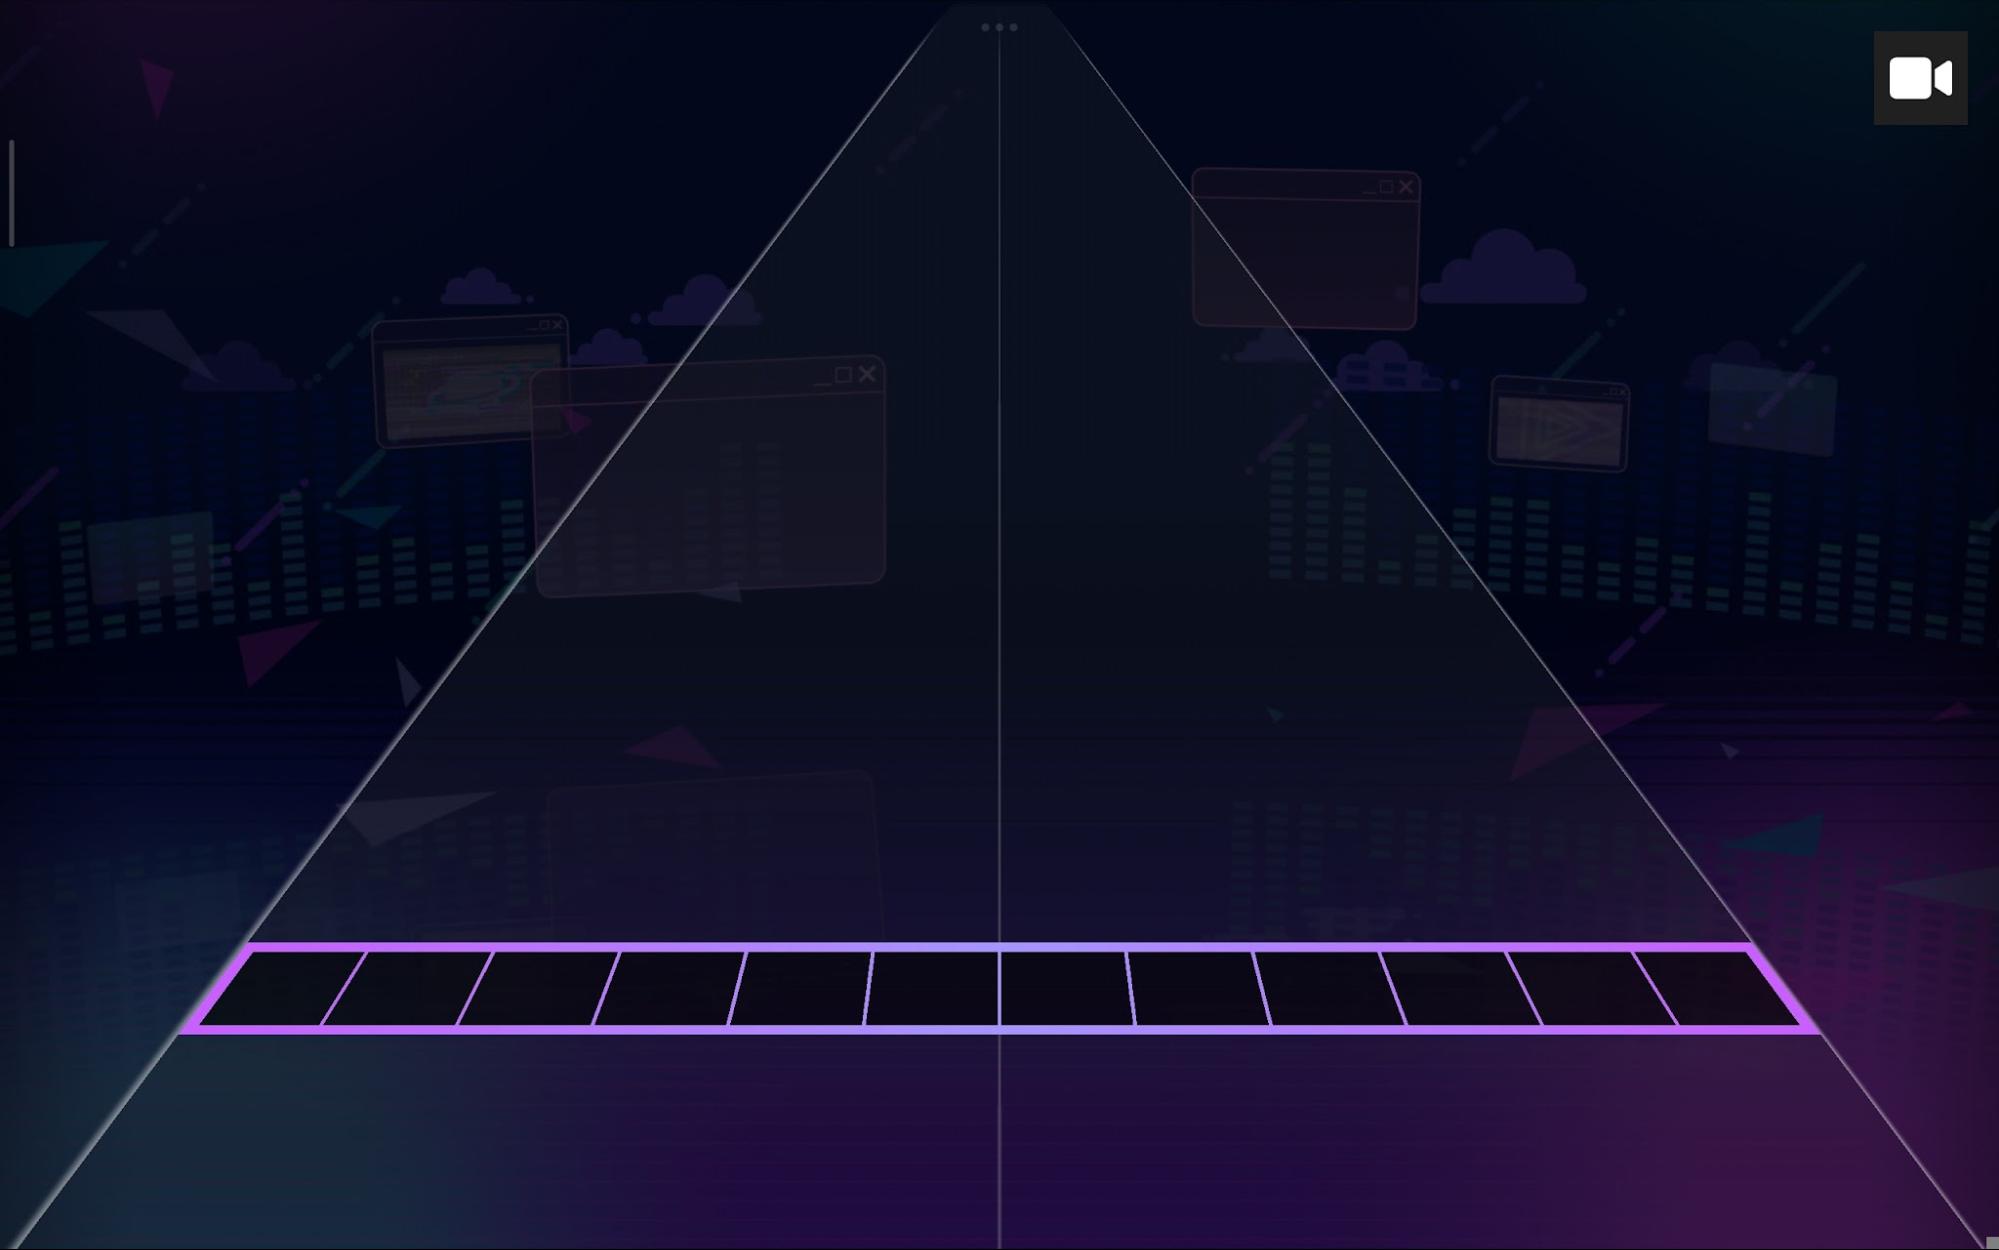
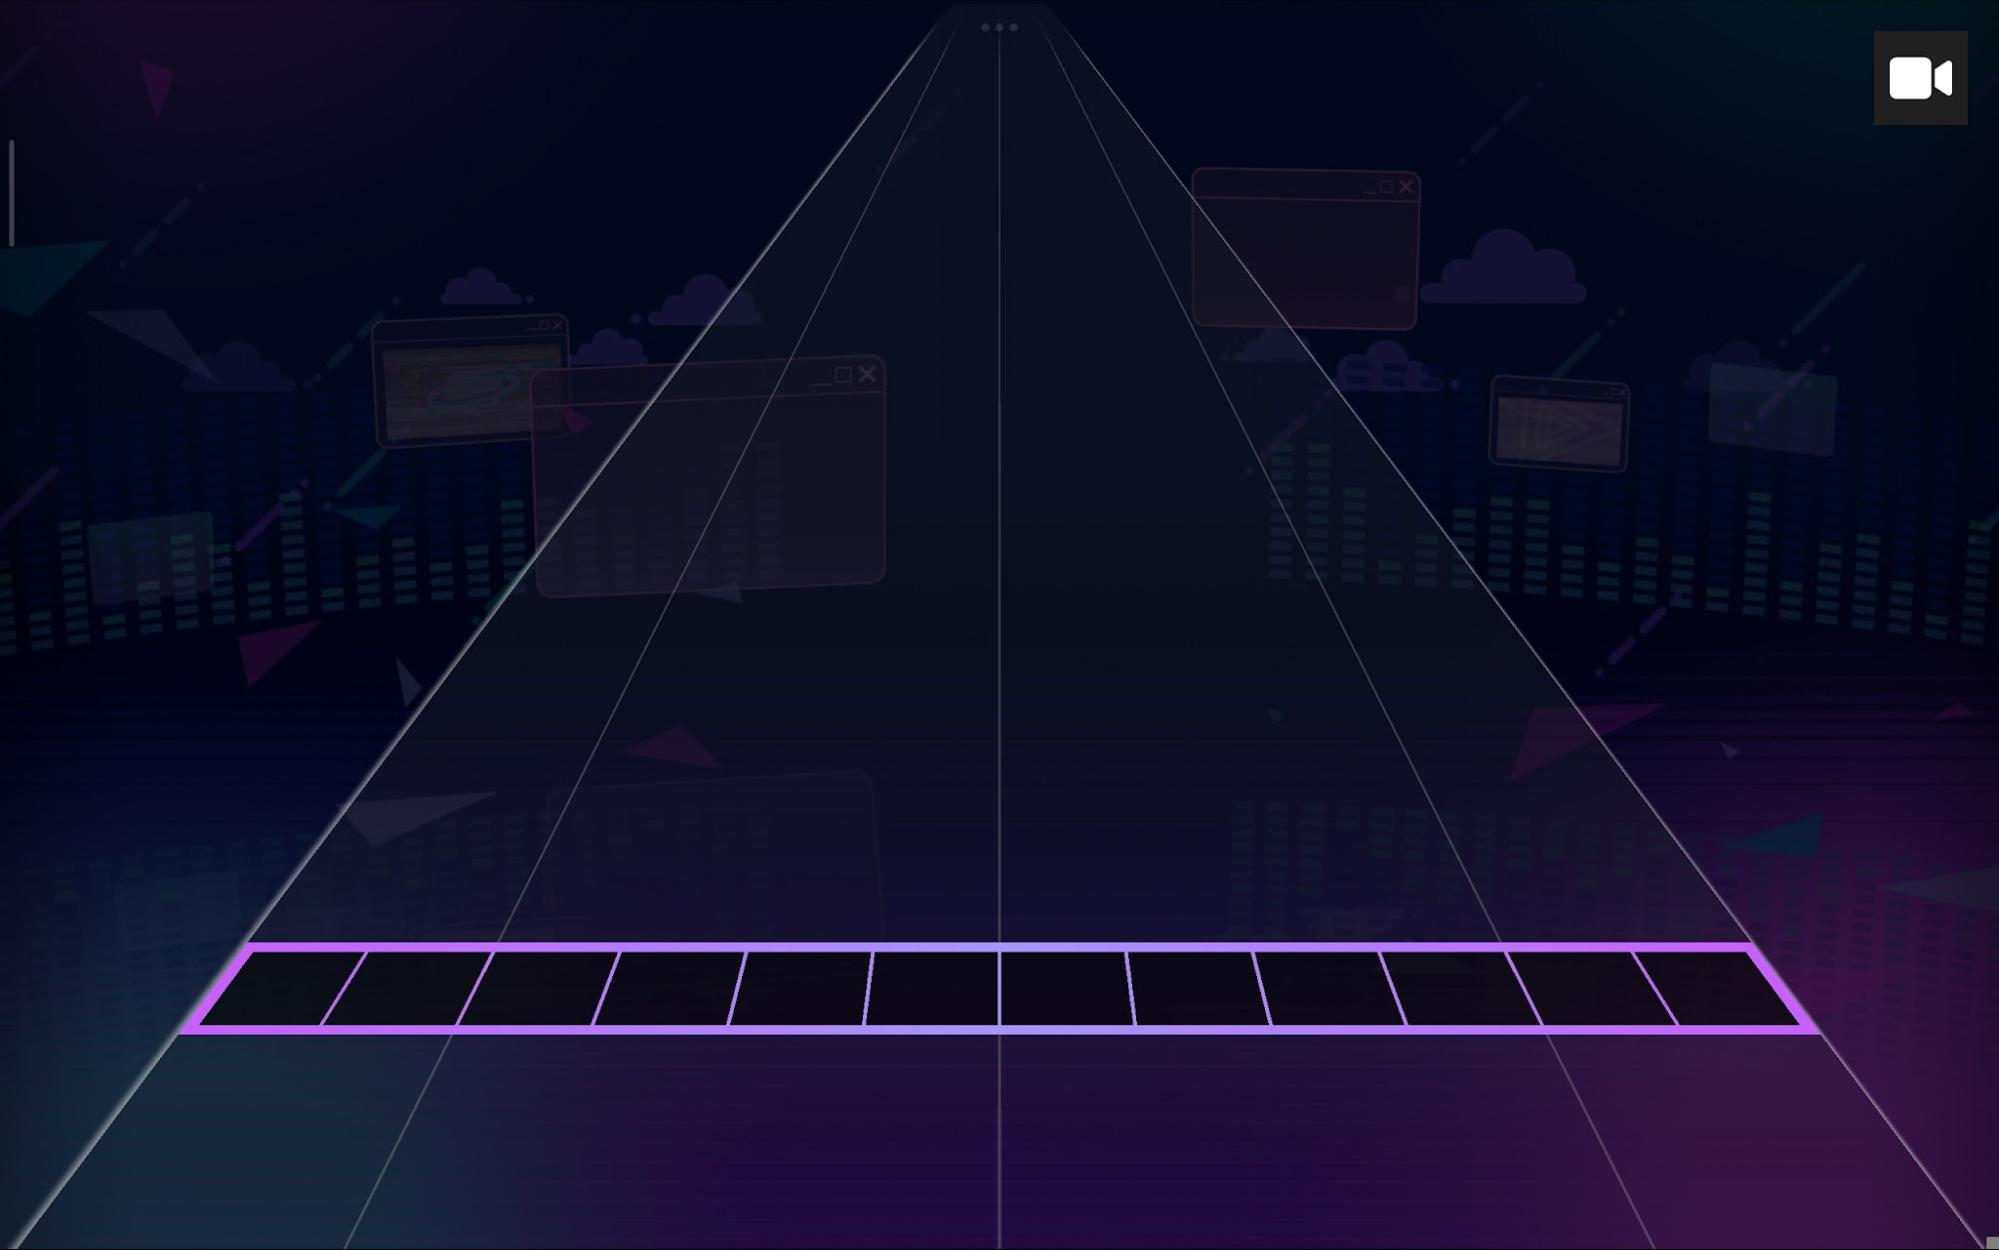
Division Size: Controls the division lines; the default value is 2.
Division size 3: Division size 6:
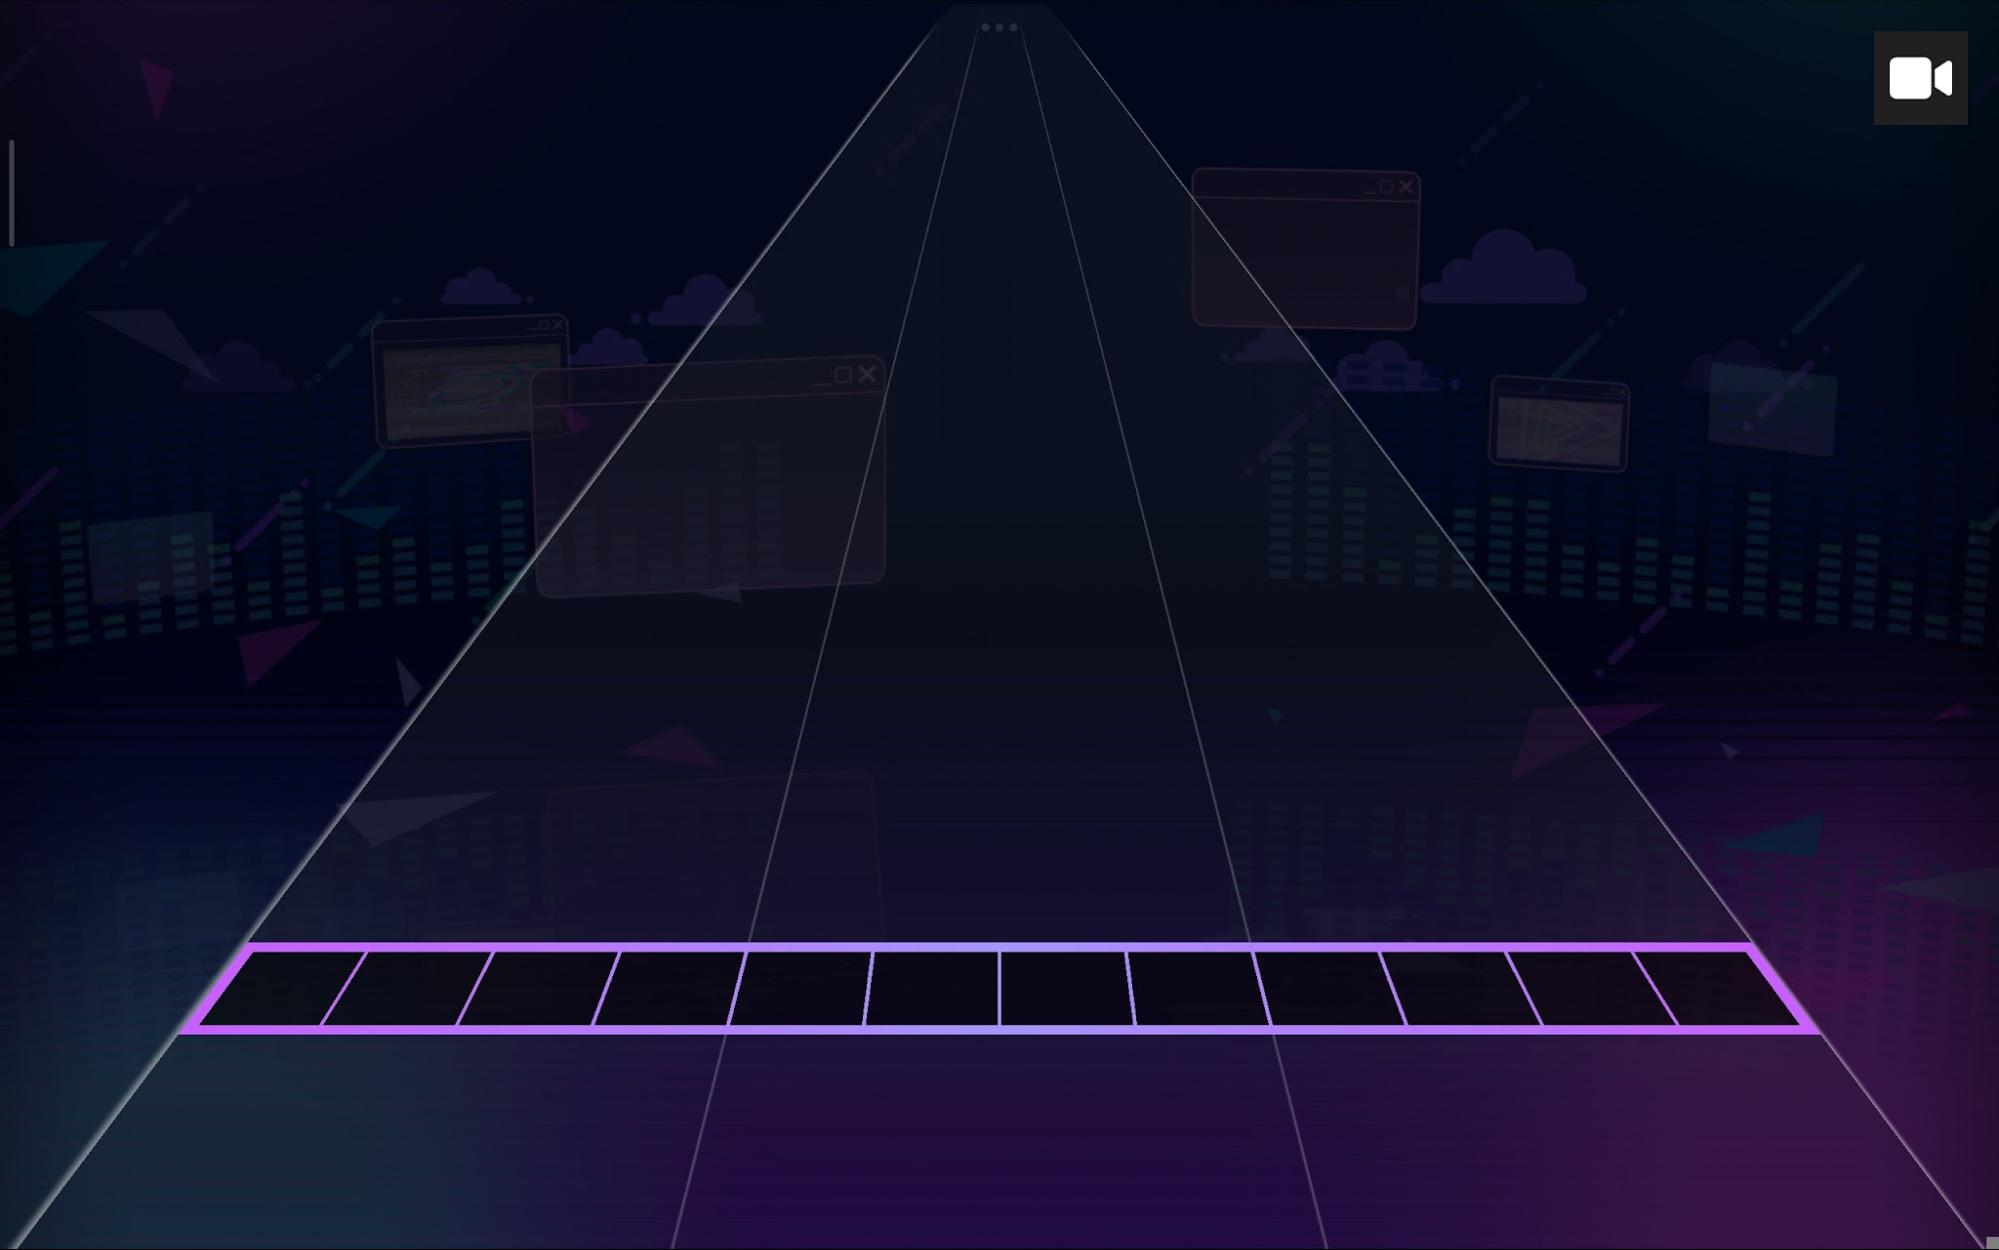
In some situations you may find the division lines uneven,This is where division parity comes in; you can select between even and odd to align the division lines with the mask.
Division size 4 (even parity): Division size 4 (odd parity):
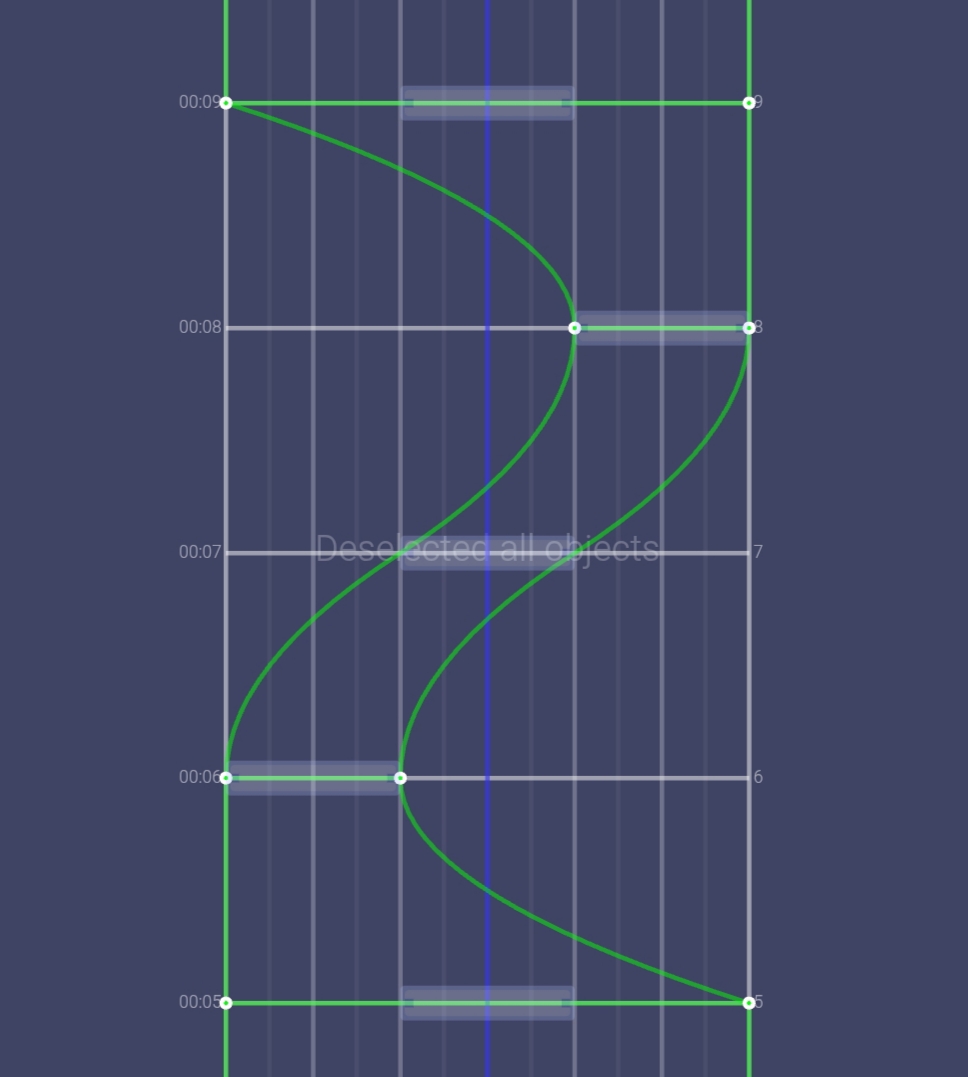
You may have noticed that when moving pivots or masks, you get this effect that seems to "rotate" them.
You can fix this by making the pivot follow the mask: